Operations Guide
PROCLB
A structured guide for creating, reviewing, approving, receiving and monitoring invoice payment requests across the PRO CLB lifecycle.
How to use this guide: Choose a chapter from the left navigation or search by role, action or status. Screens may vary according to your assigned role and permissions.
00
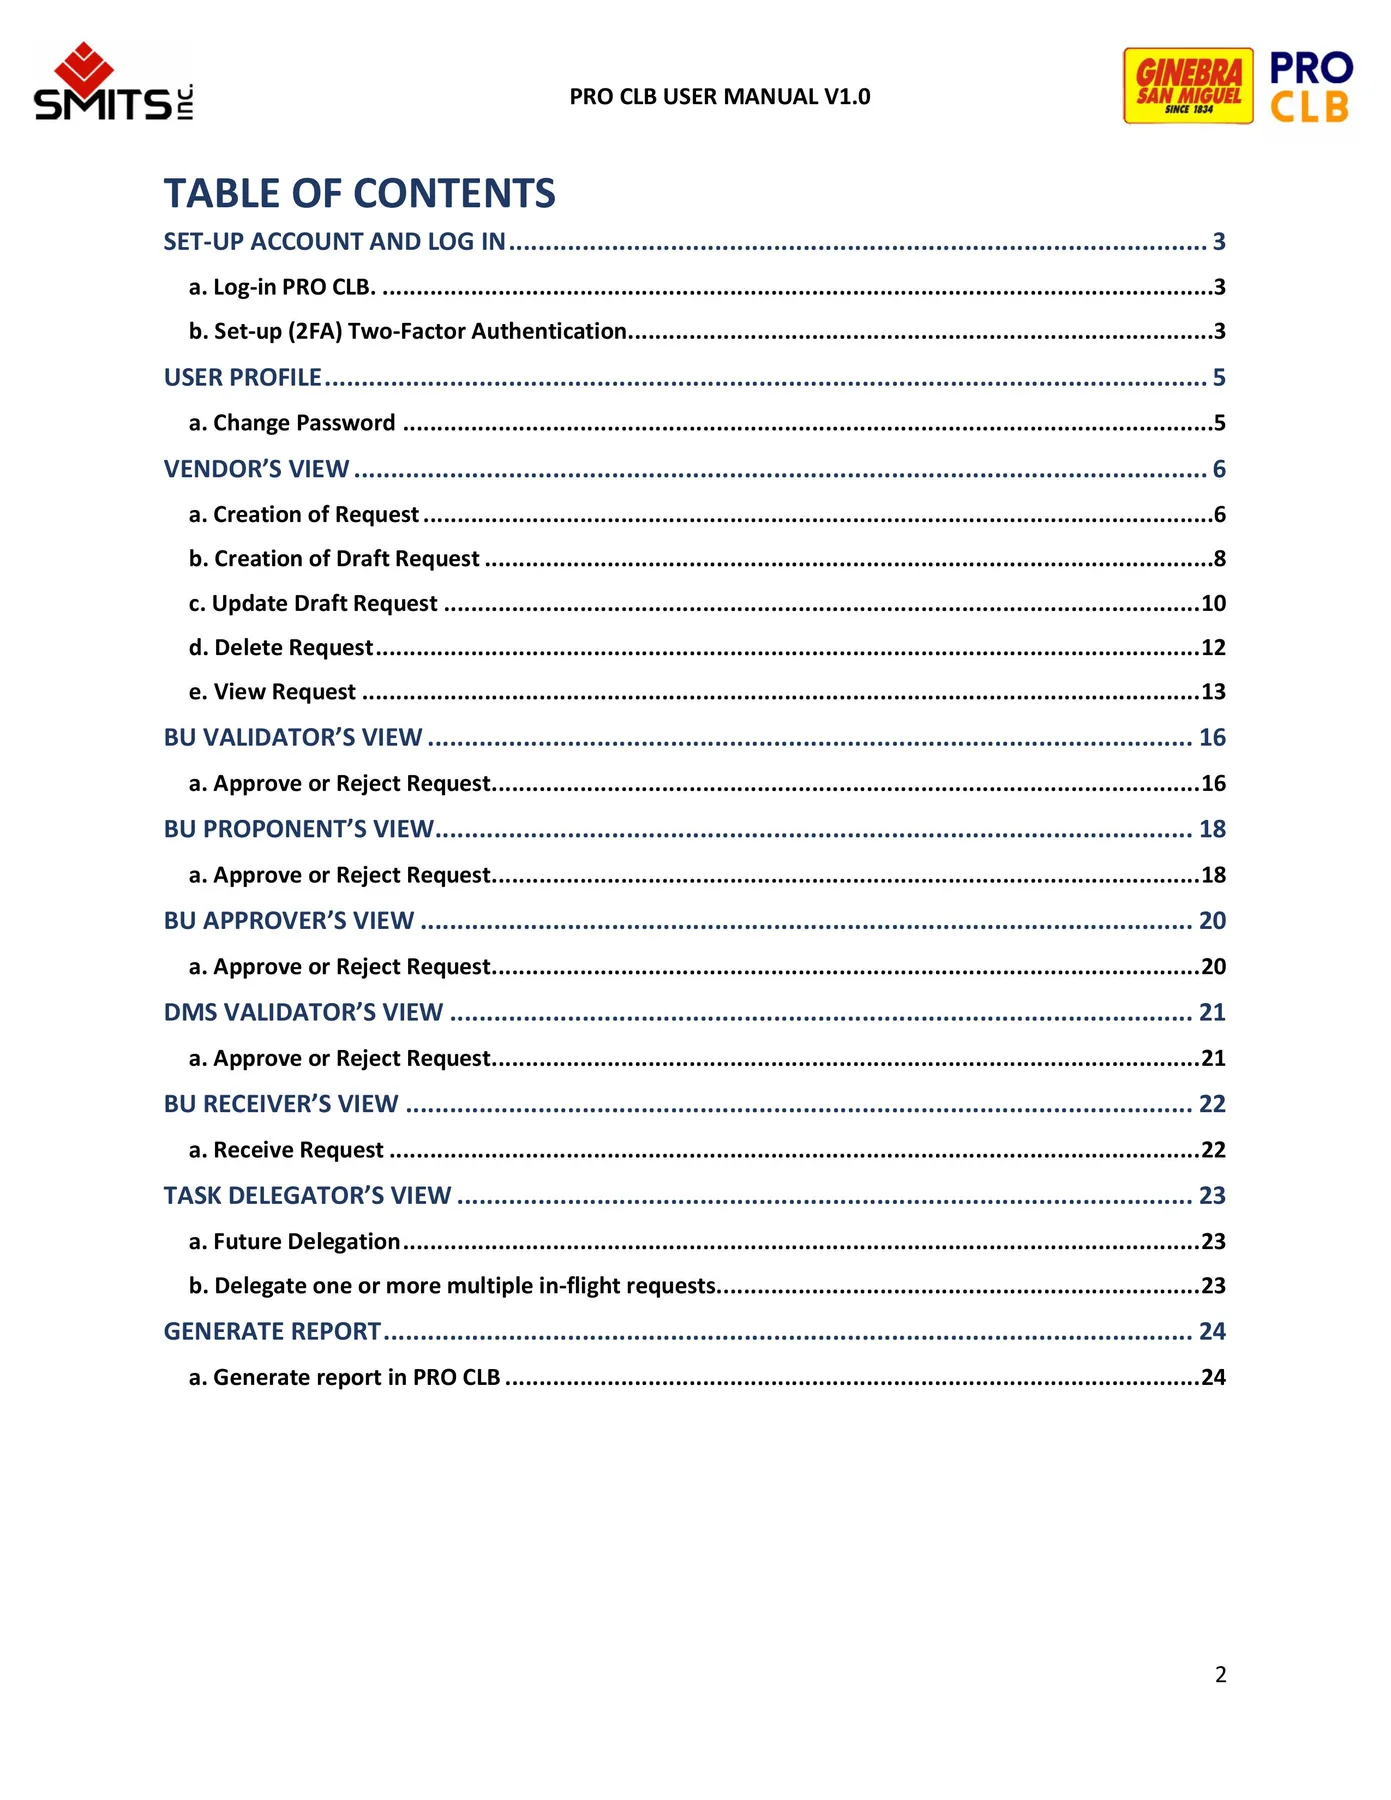
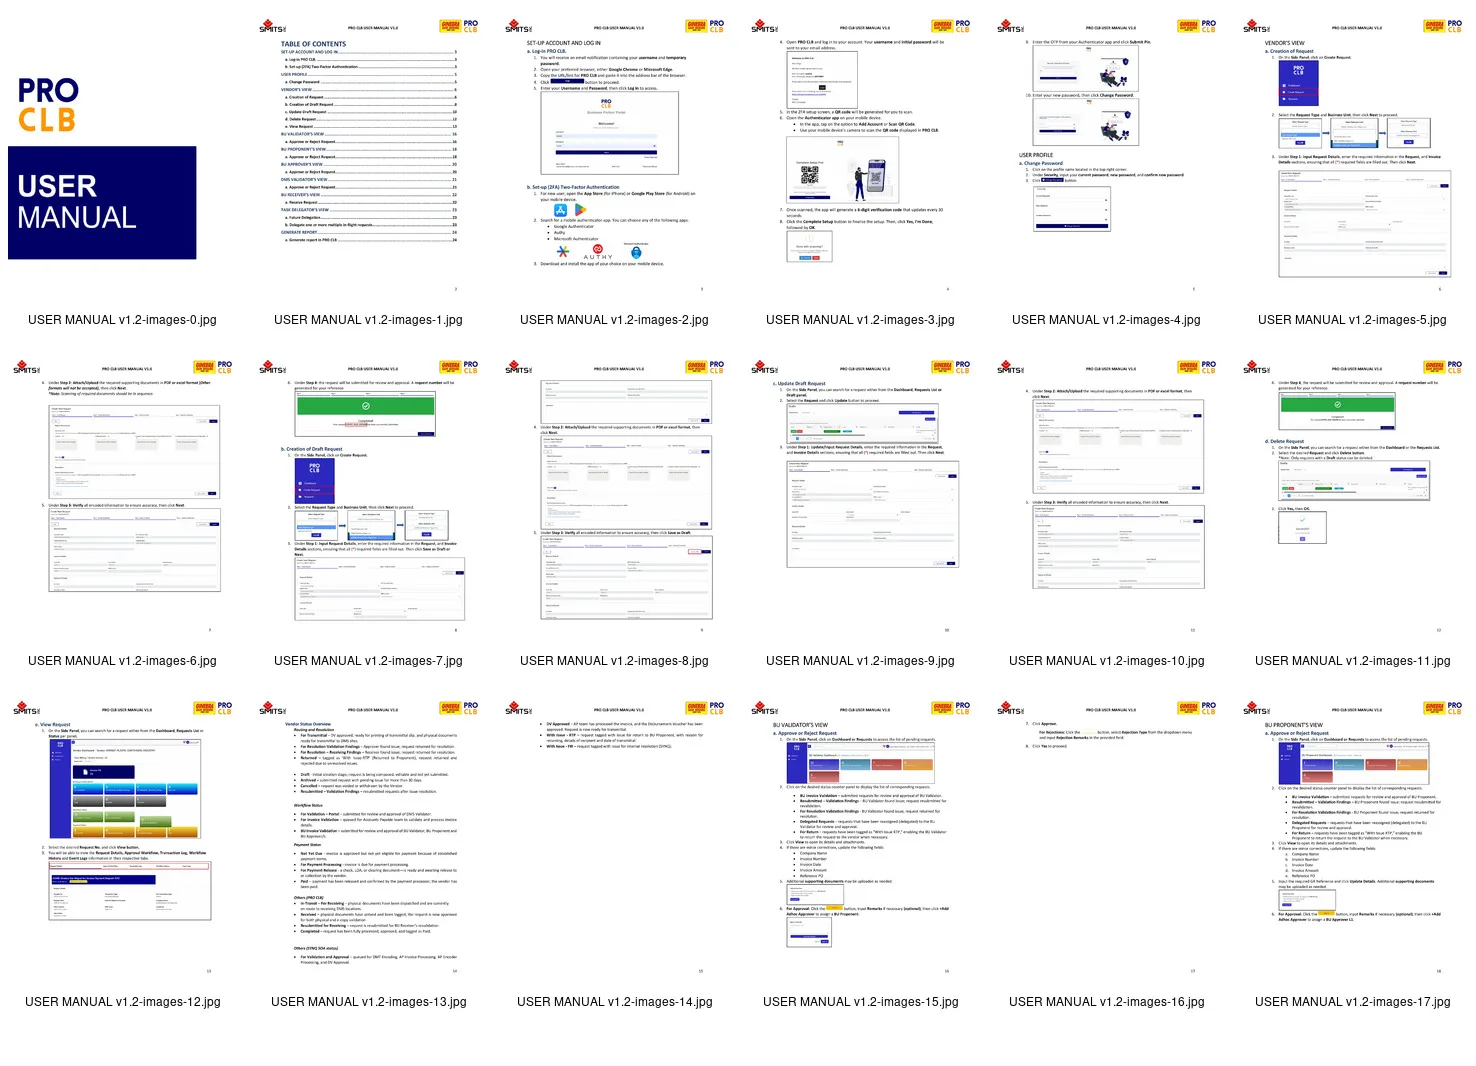
Manual Overview Document cover and complete source table of contents.
Manual identity and version
Complete source contents
Manual Overview Source page 1 Manual Overview Source page 2
01
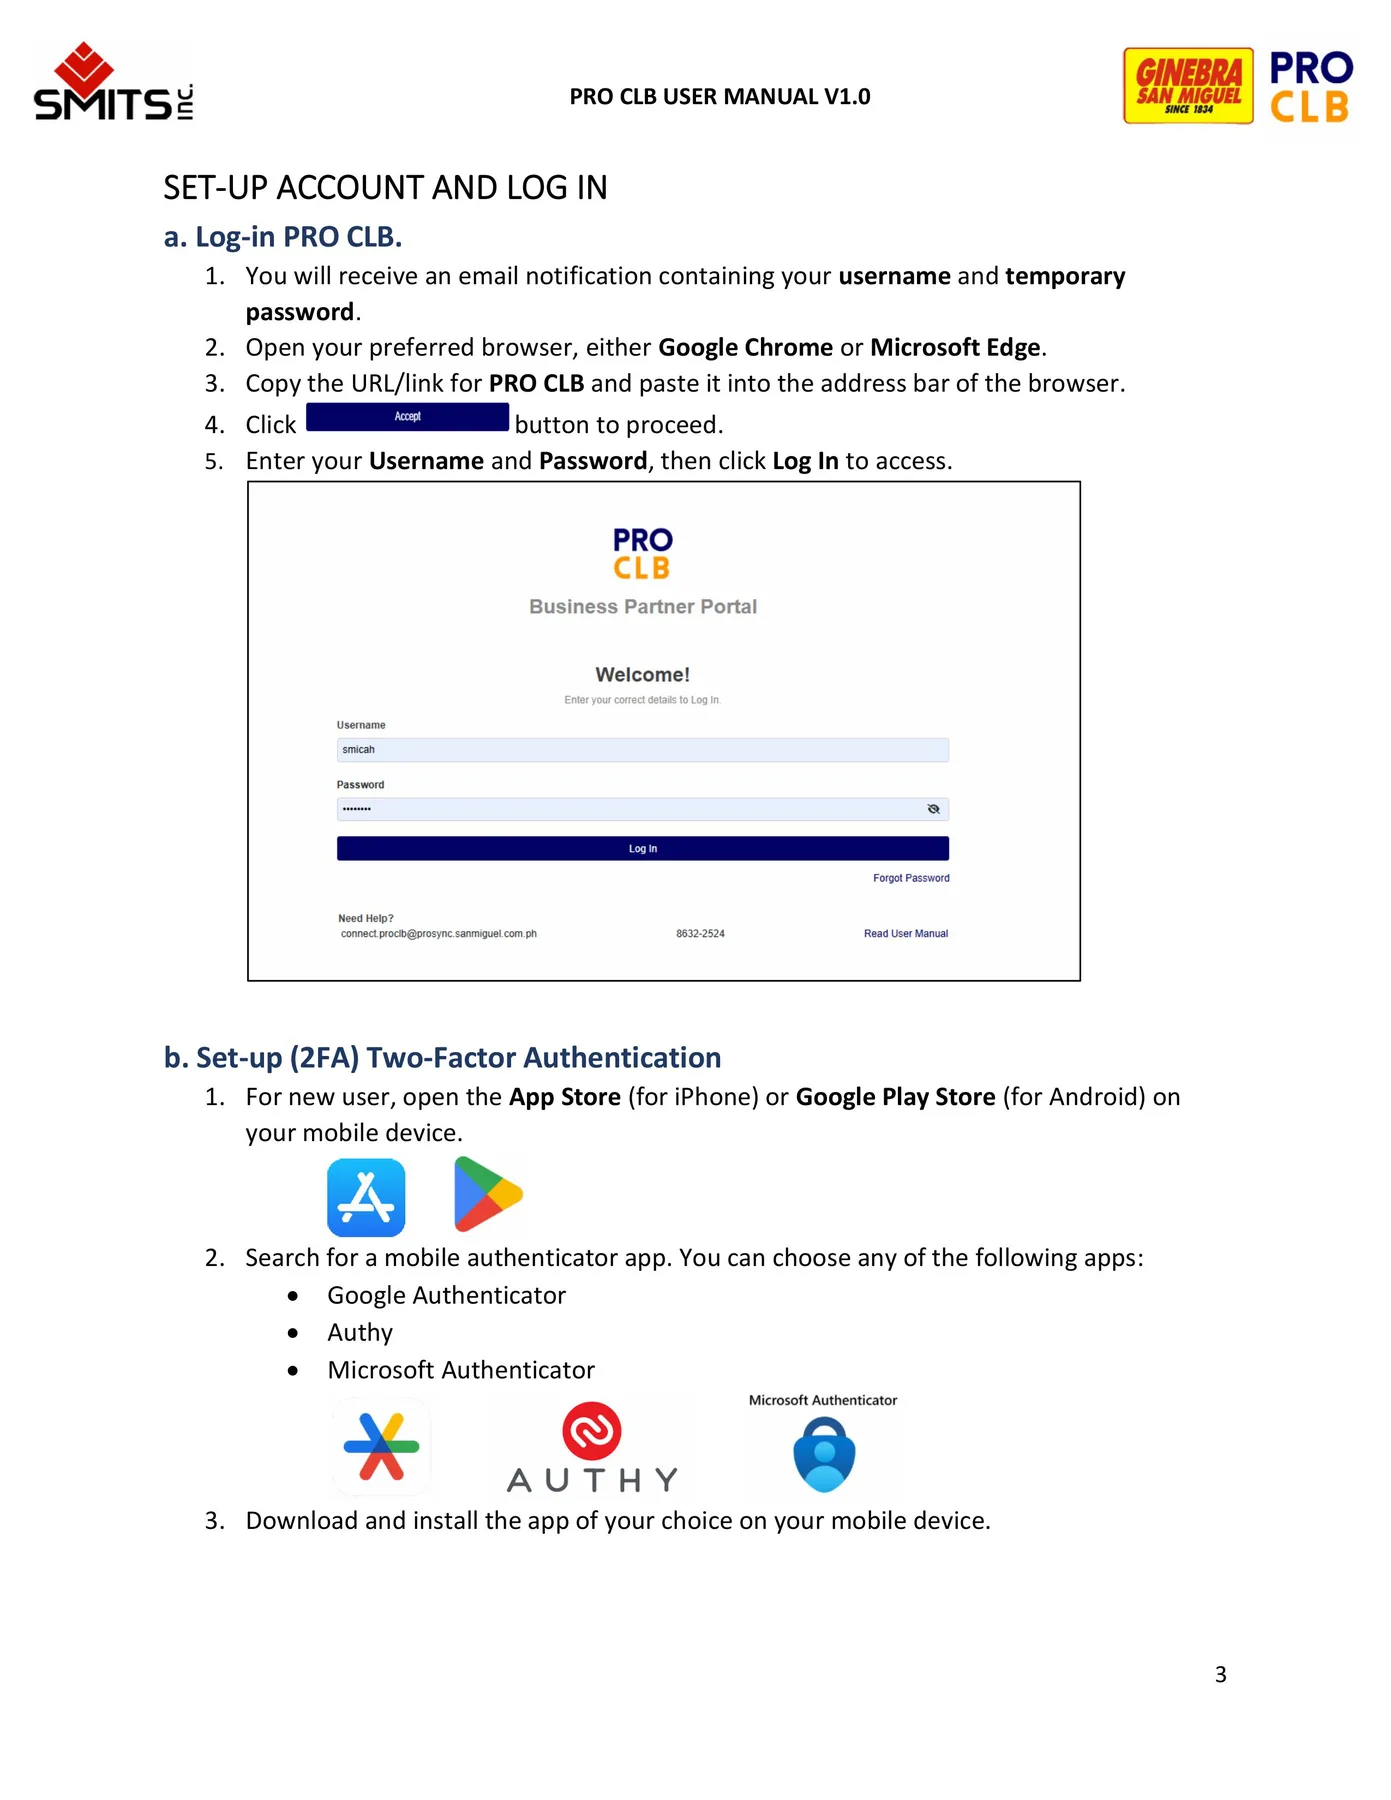
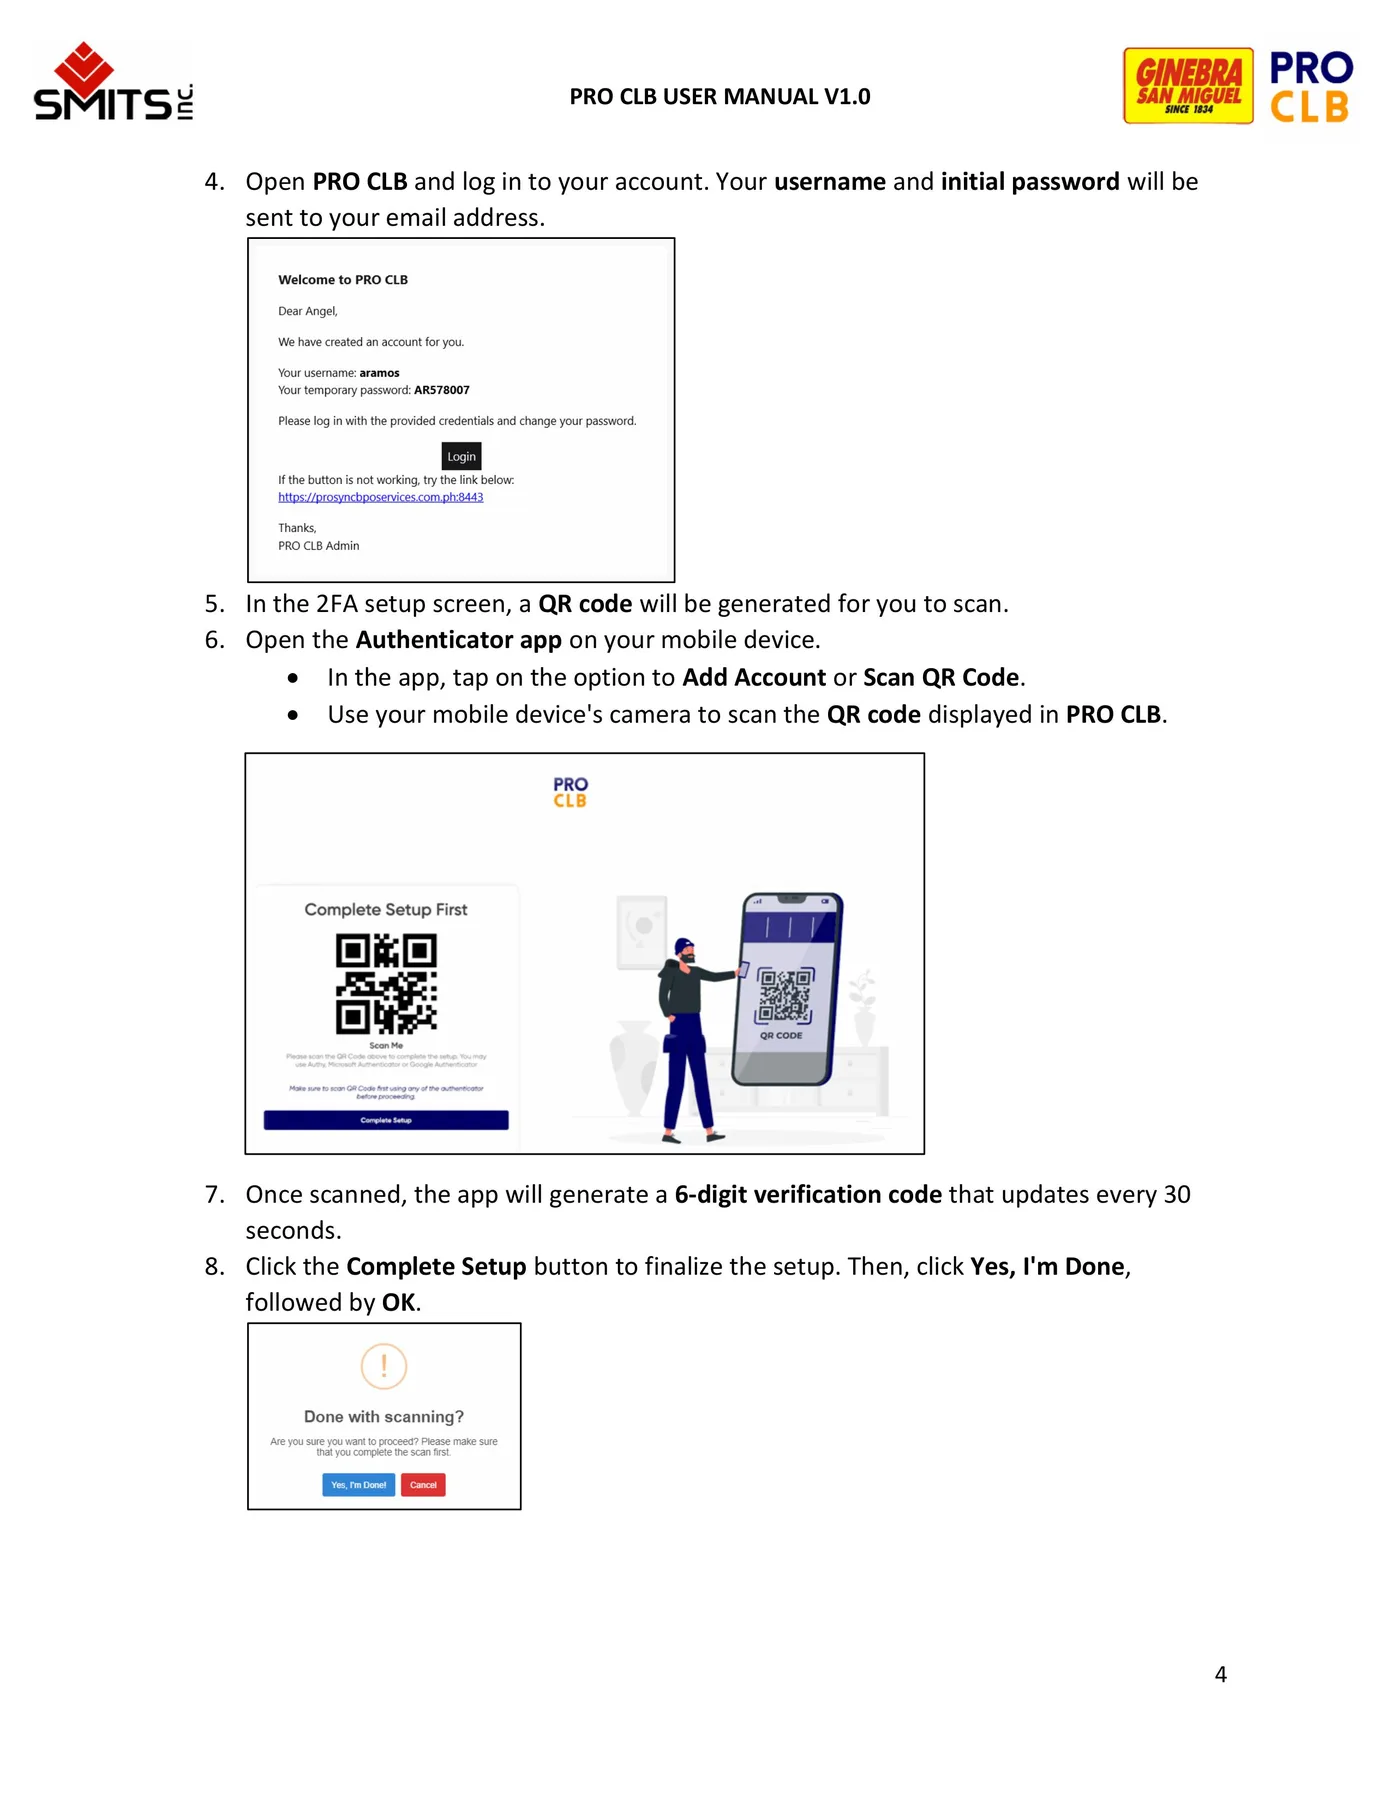
Getting Started Account access, secure login and two-factor authentication.
First-time login
Username and temporary password
Authenticator setup
Six-digit verification
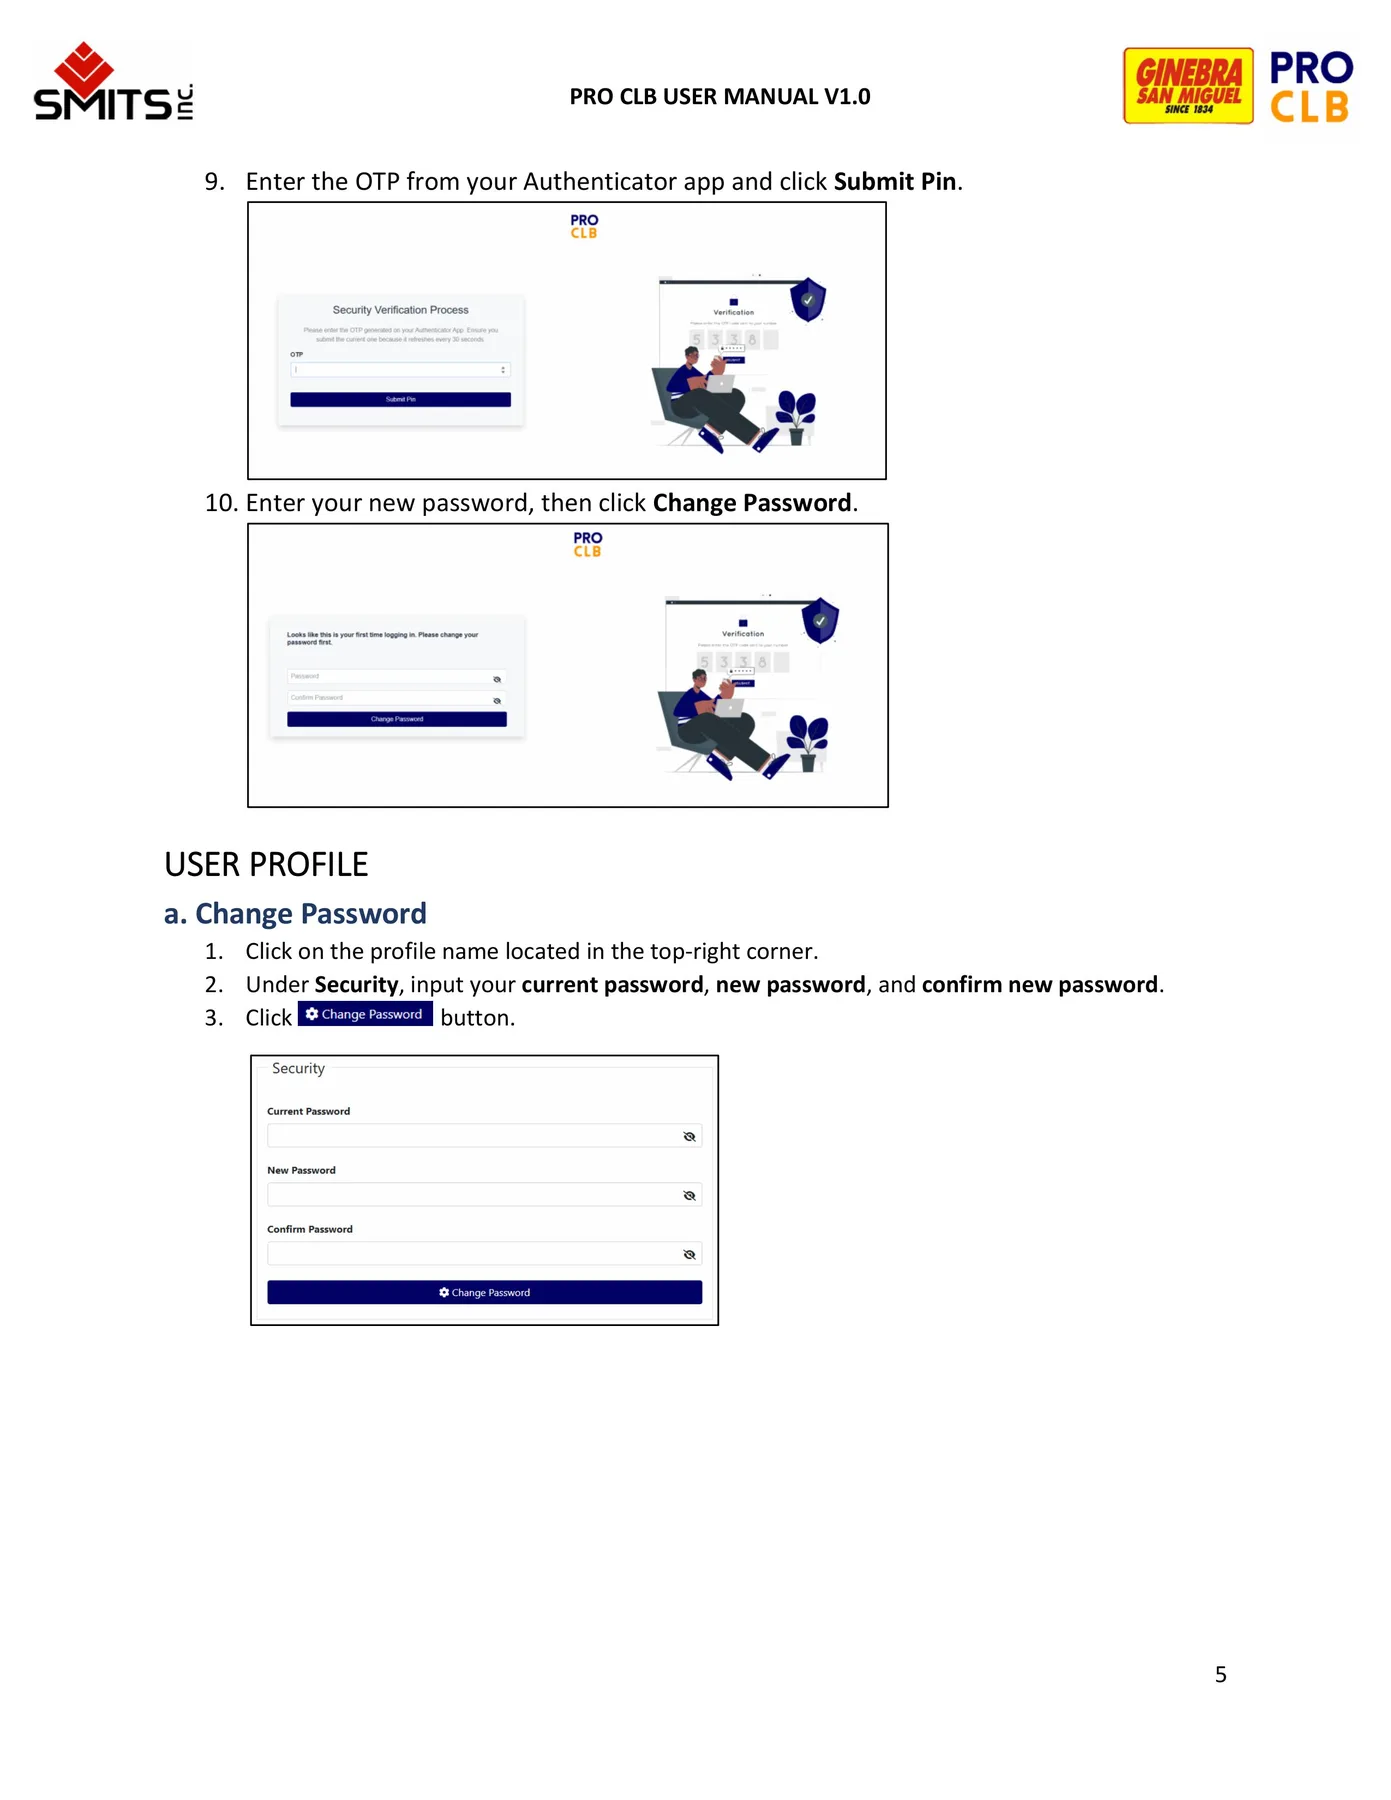
Getting Started Source page 3 Getting Started Source page 4
02
User Profile Maintain account security and update your password.
Open your profile
Enter current password
Set and confirm a new password
User Profile Source page 5
03
Request Management Create, save, update, delete and review invoice payment requests.
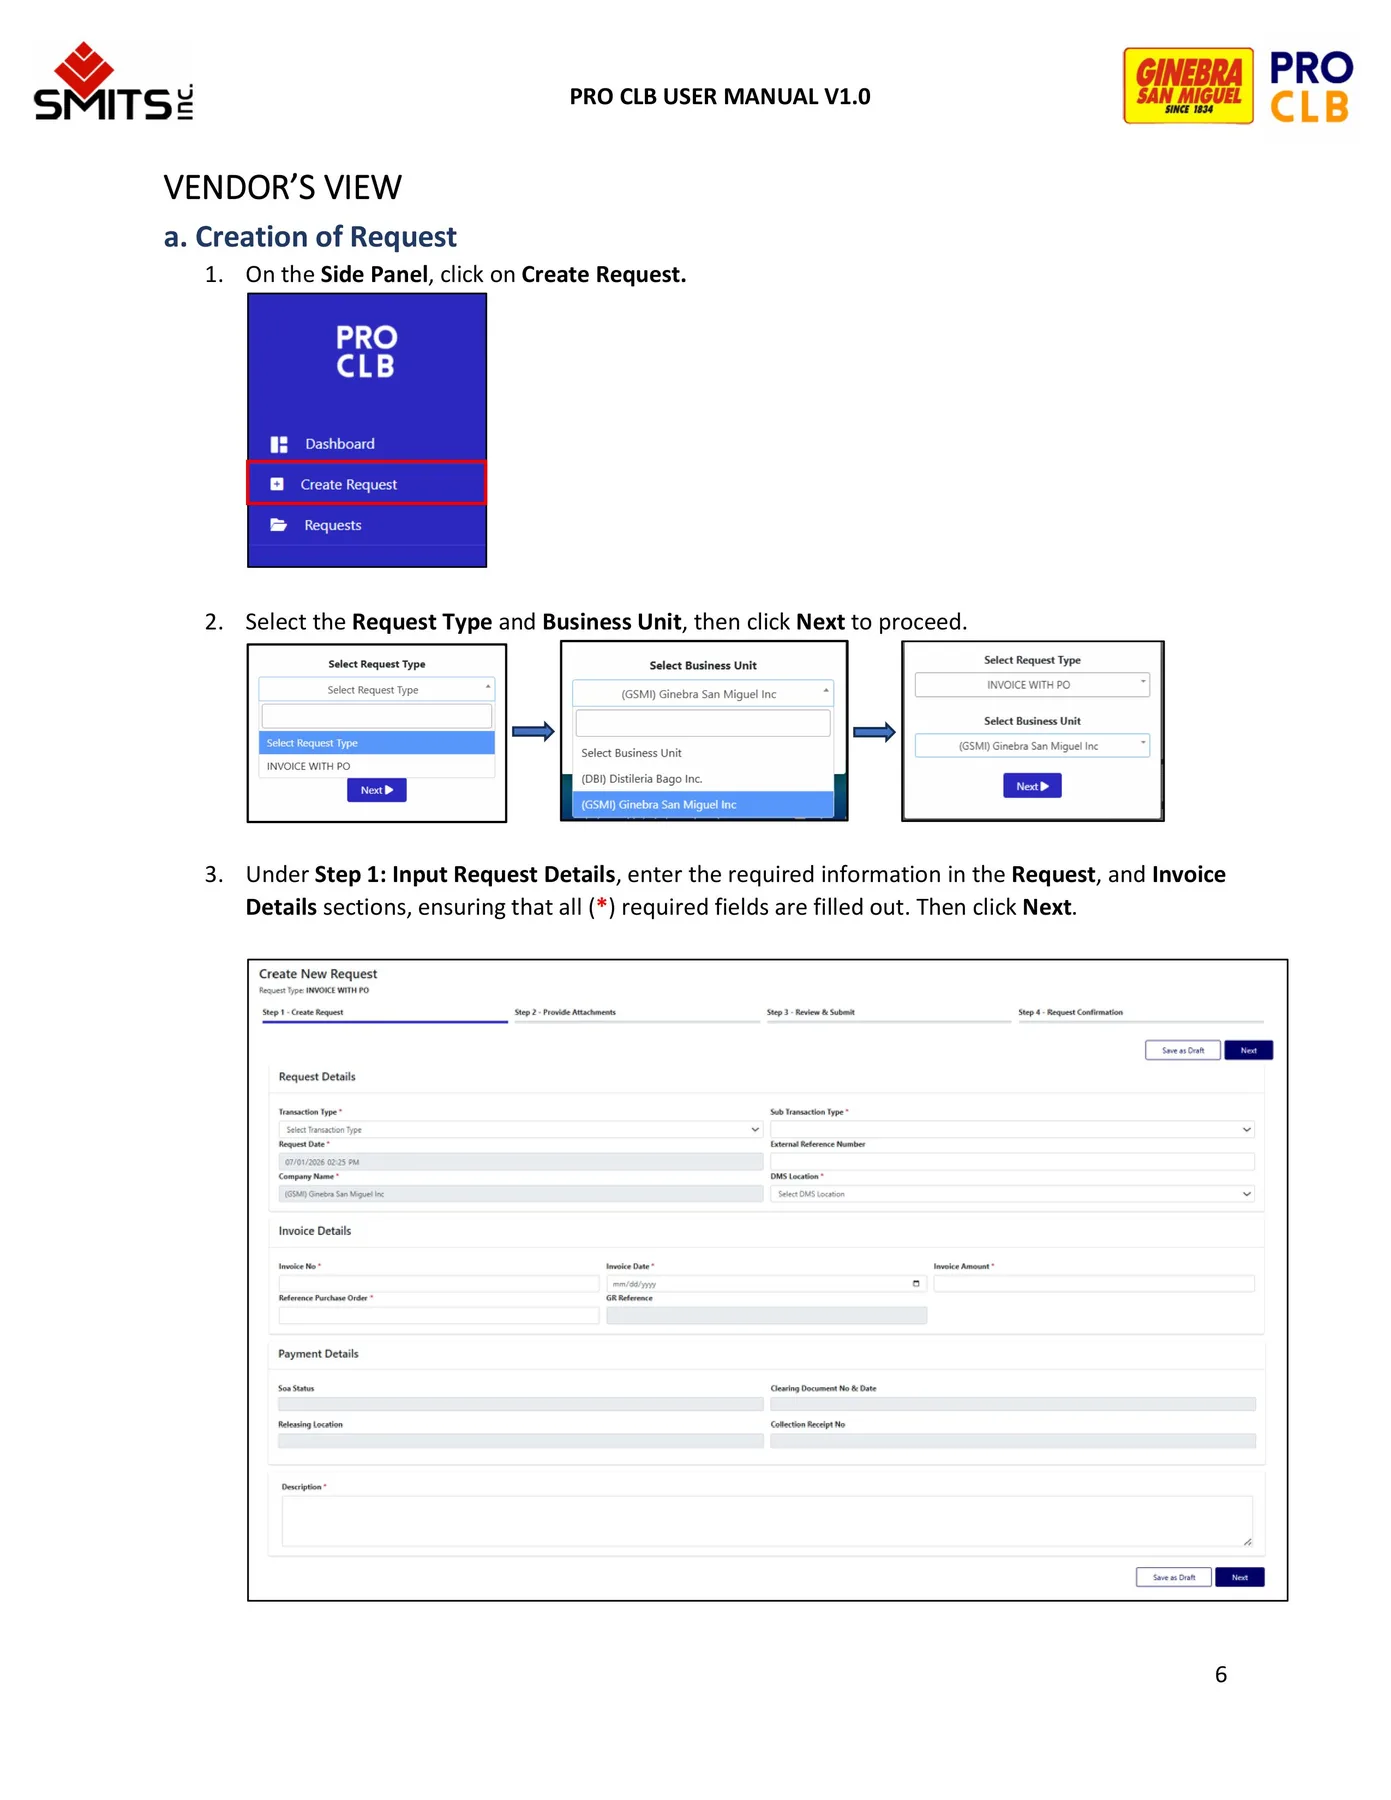
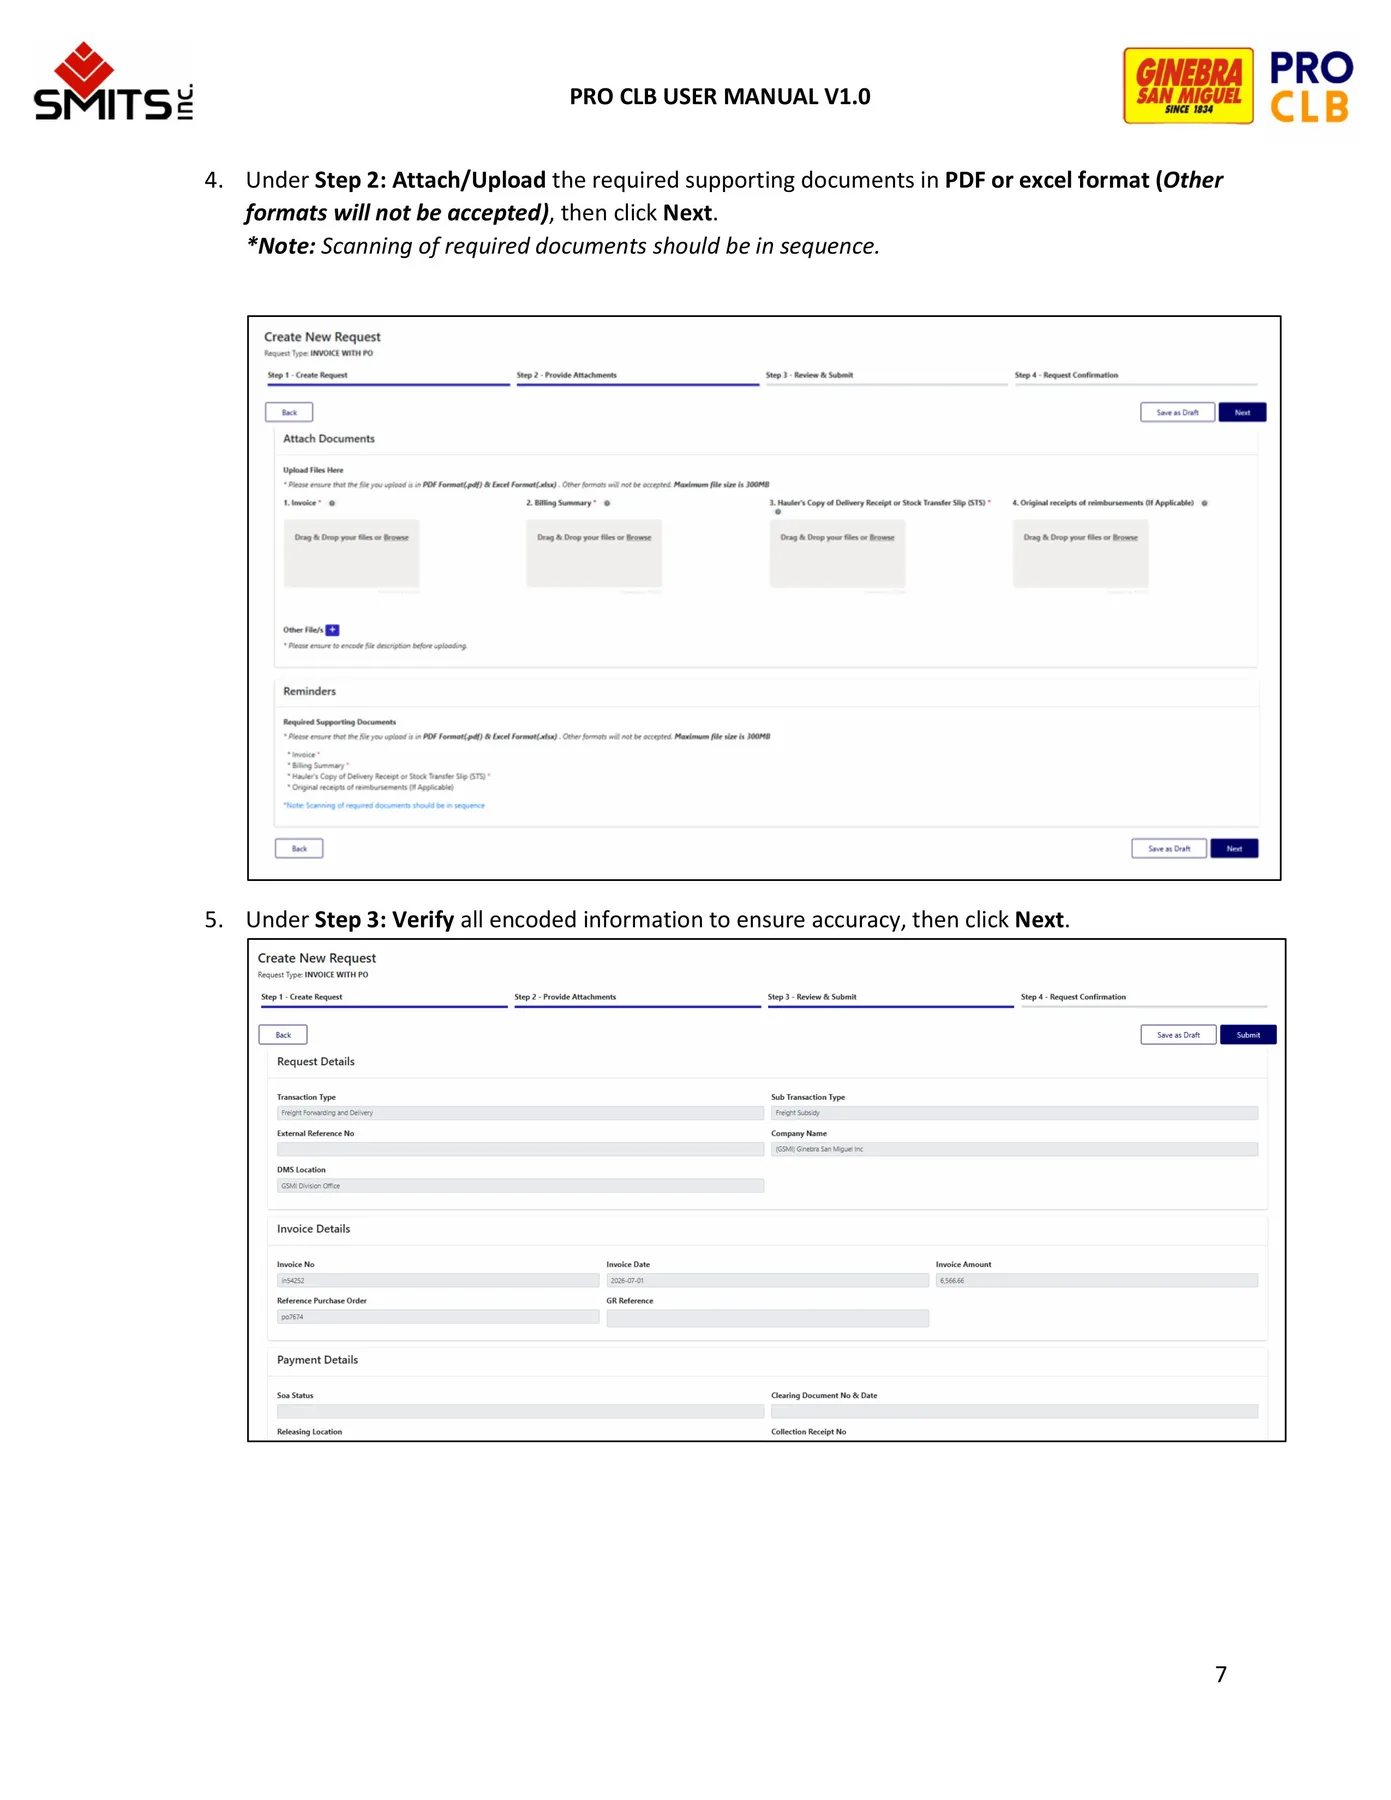
Create and submit a request
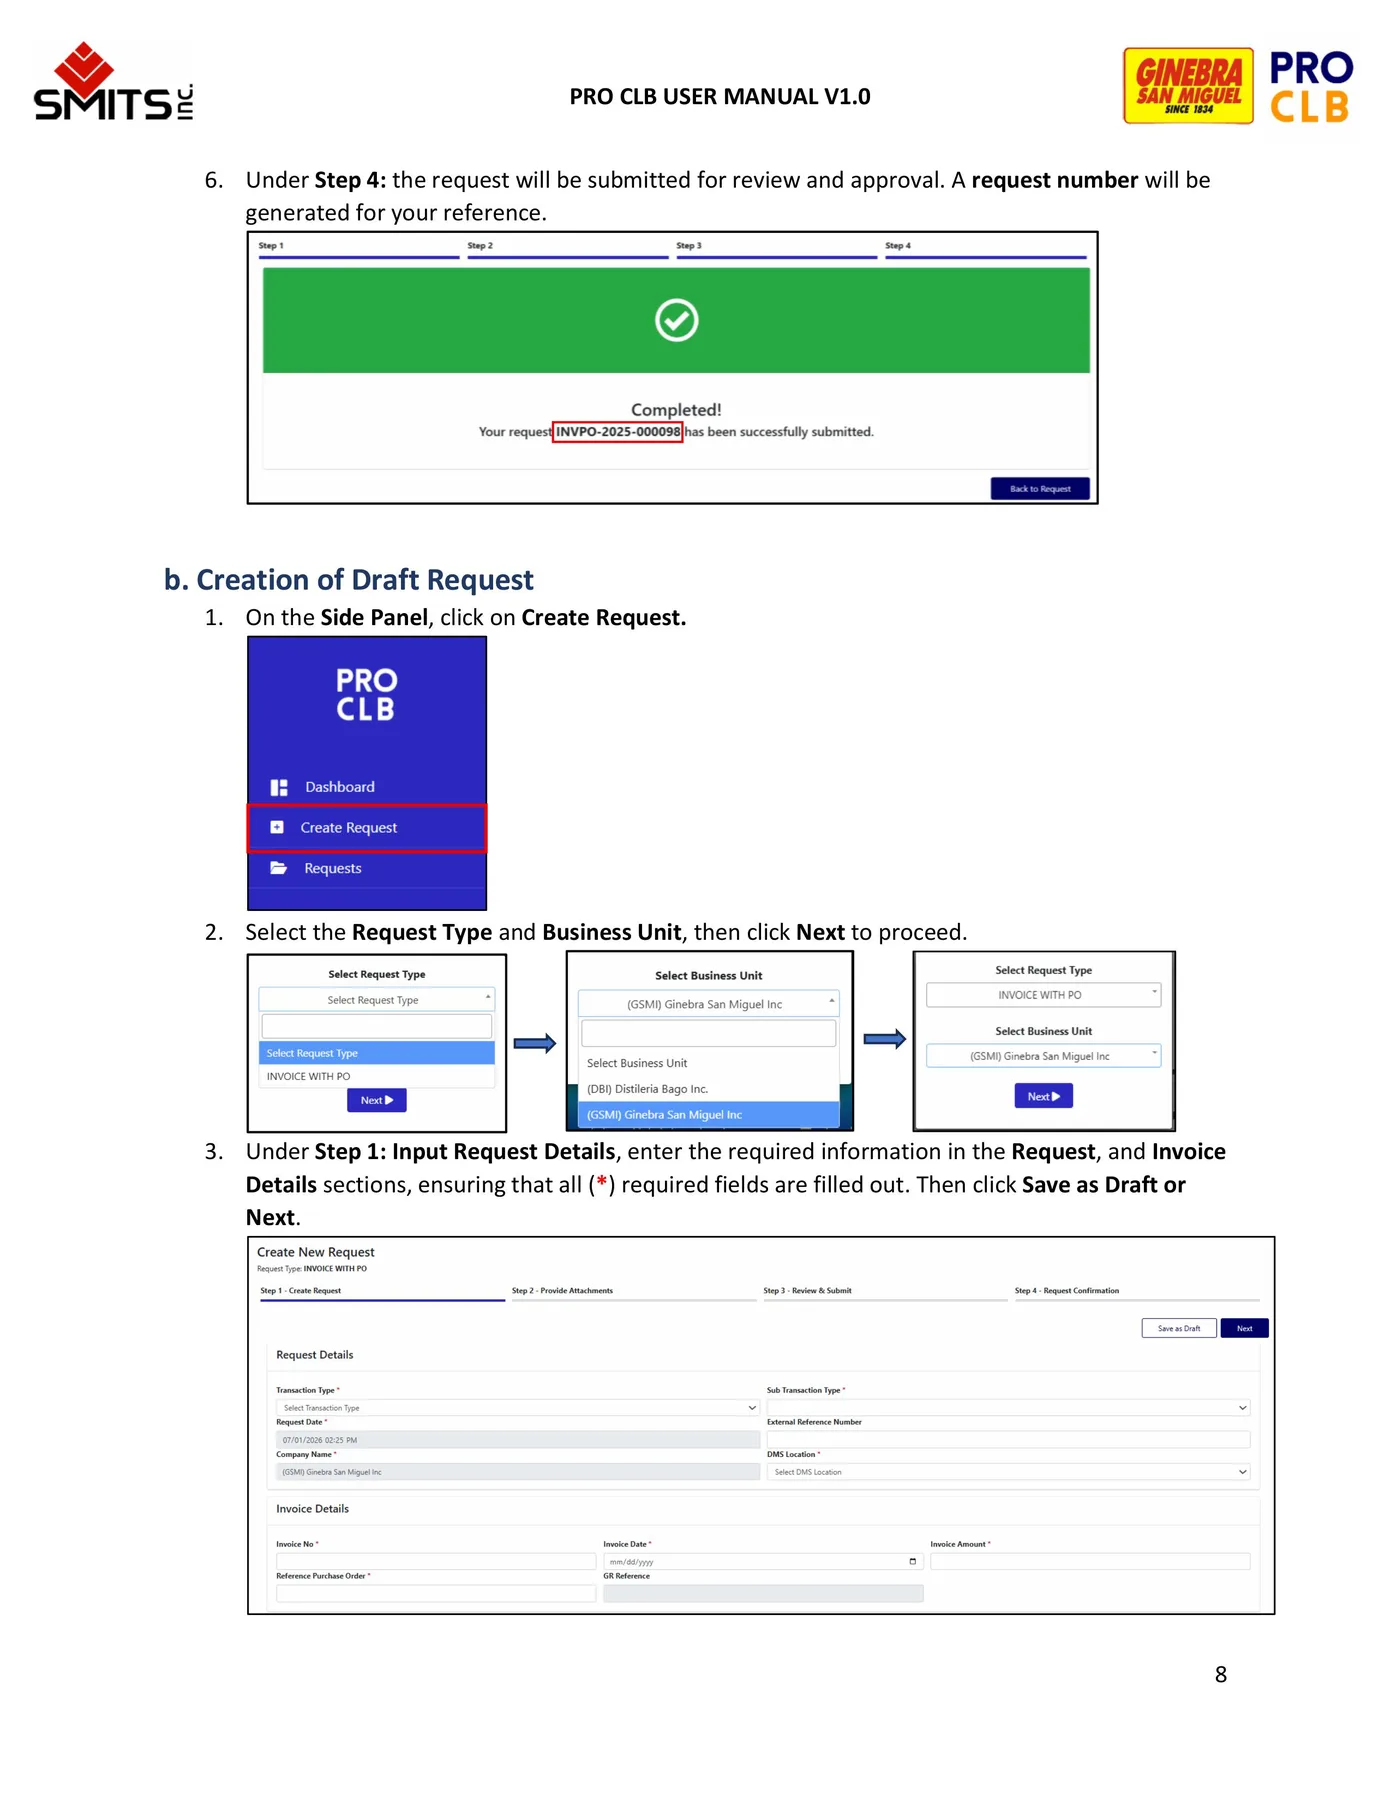
Save and resume a draft
Update request details
Delete draft requests
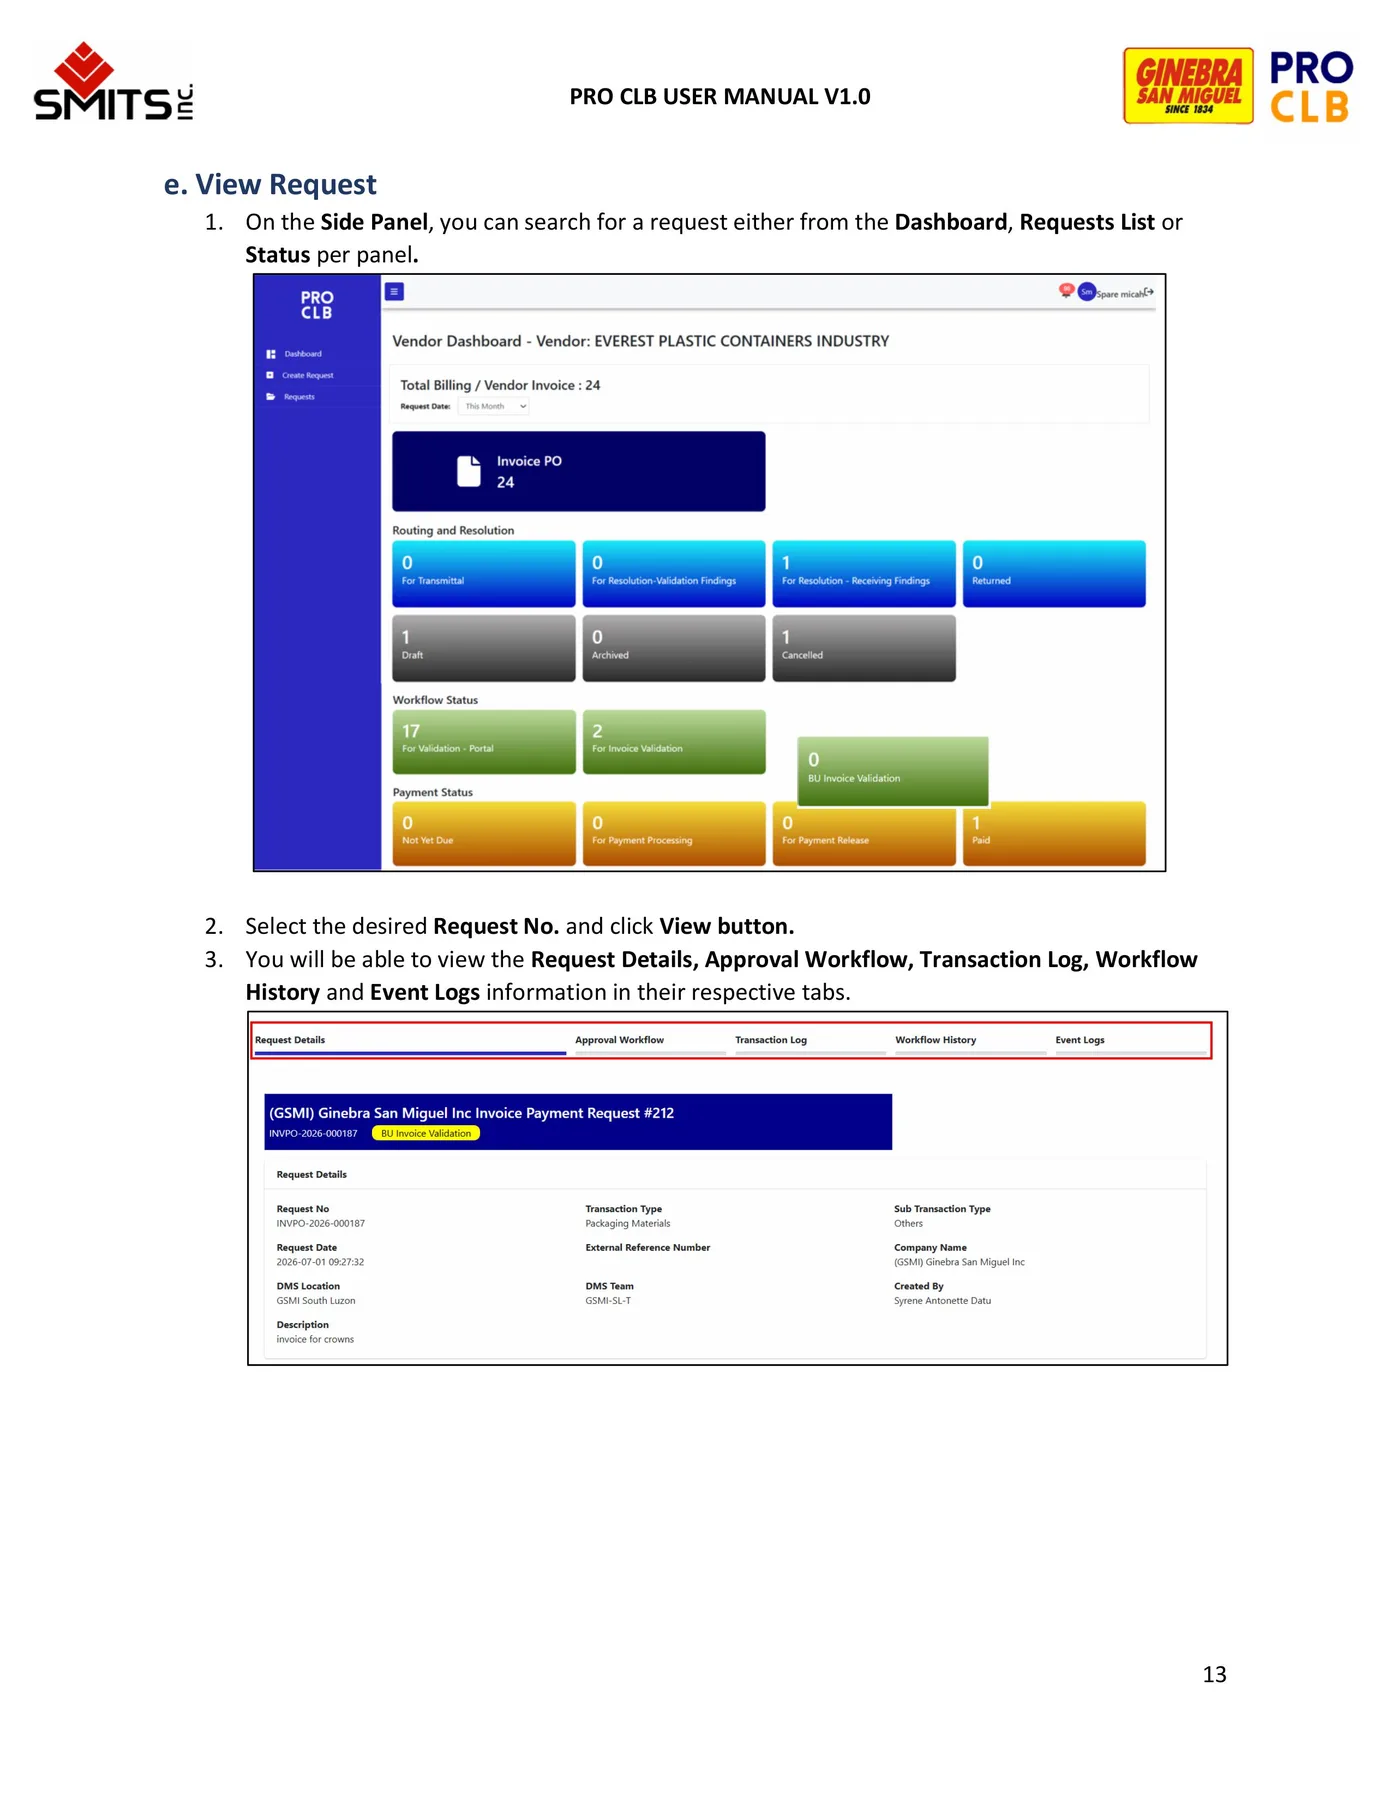
View workflow and event history
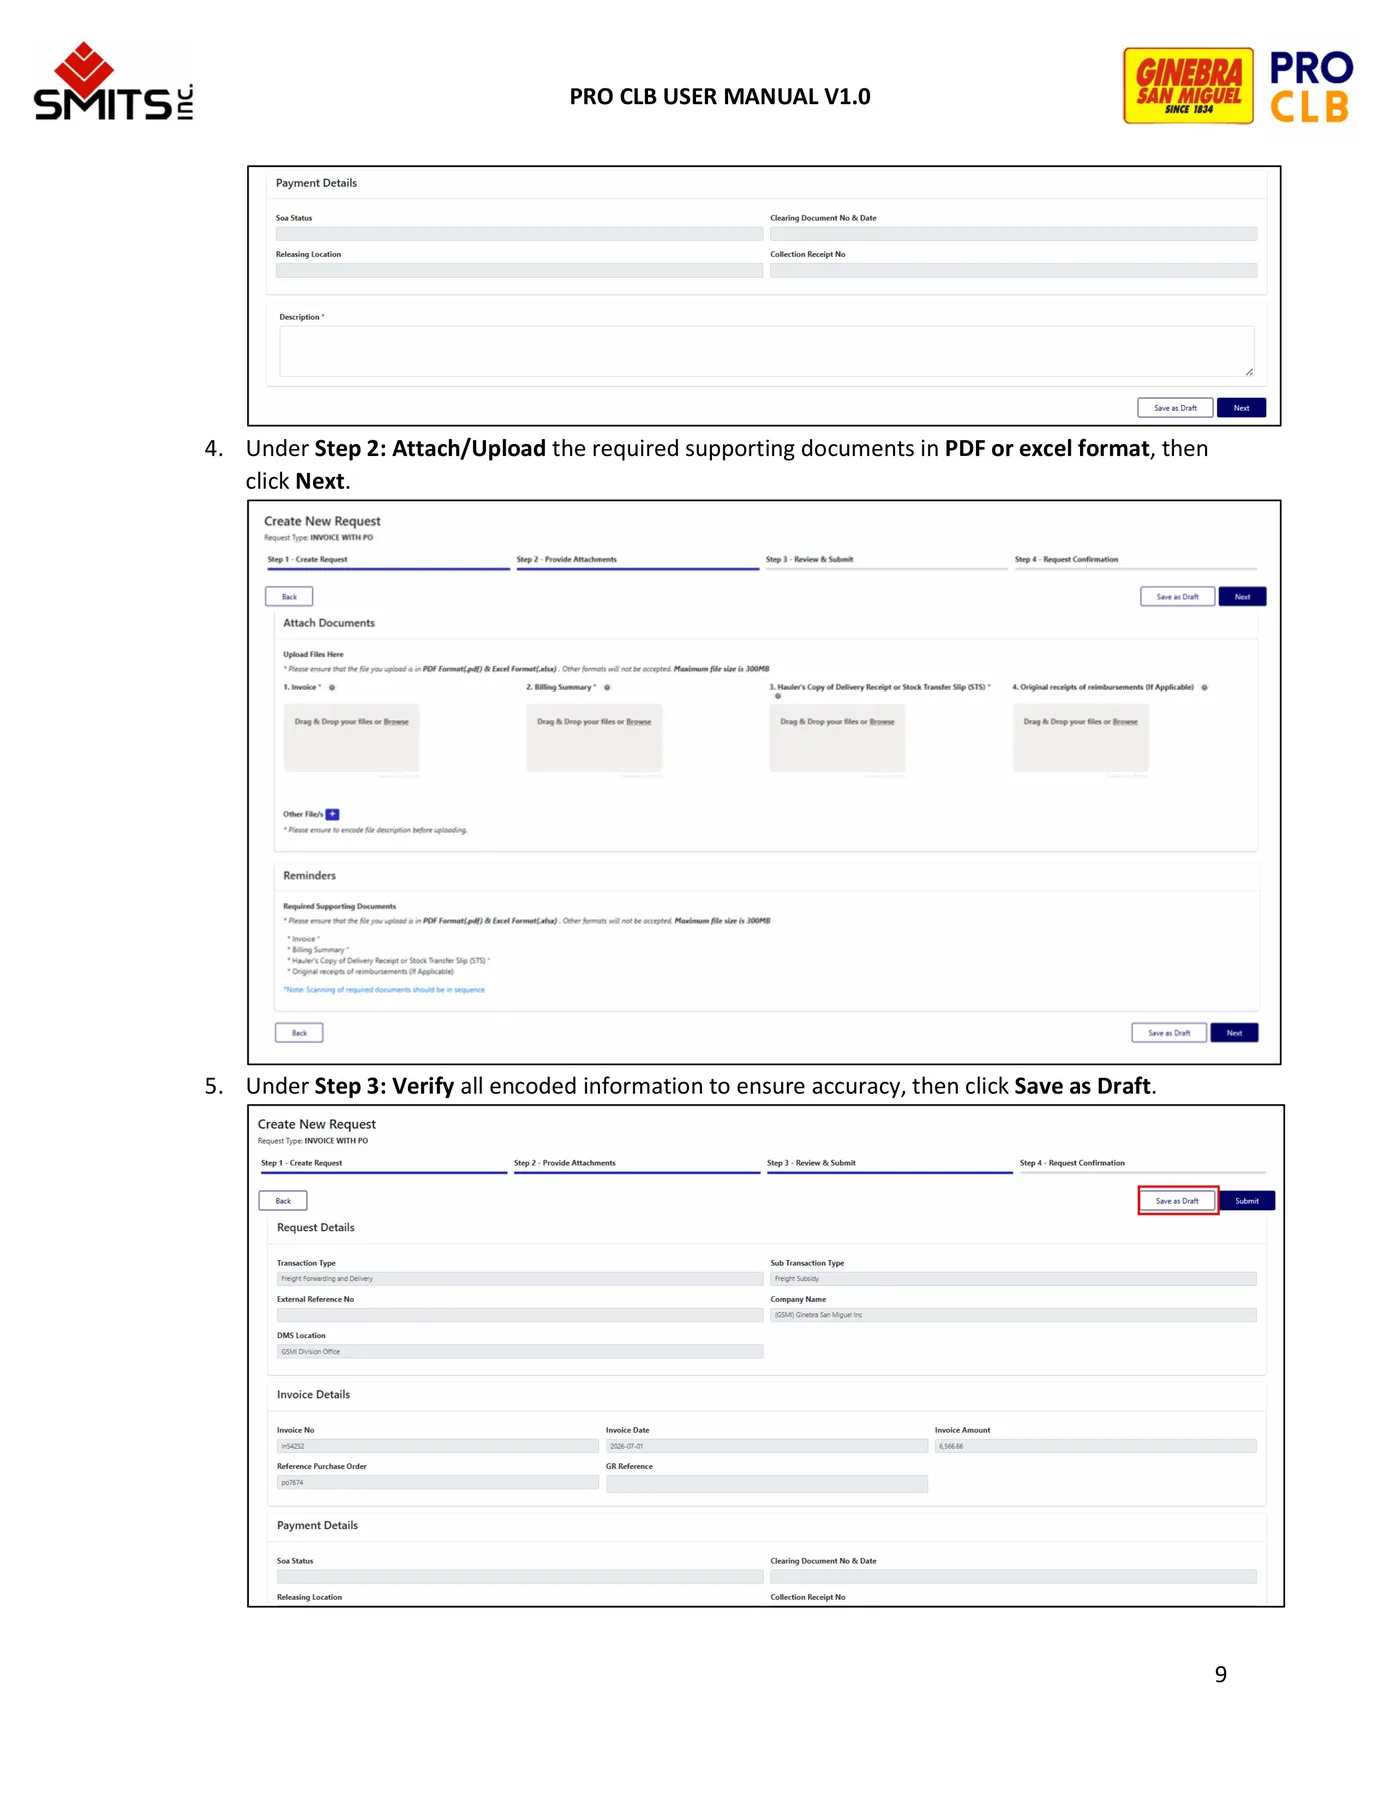
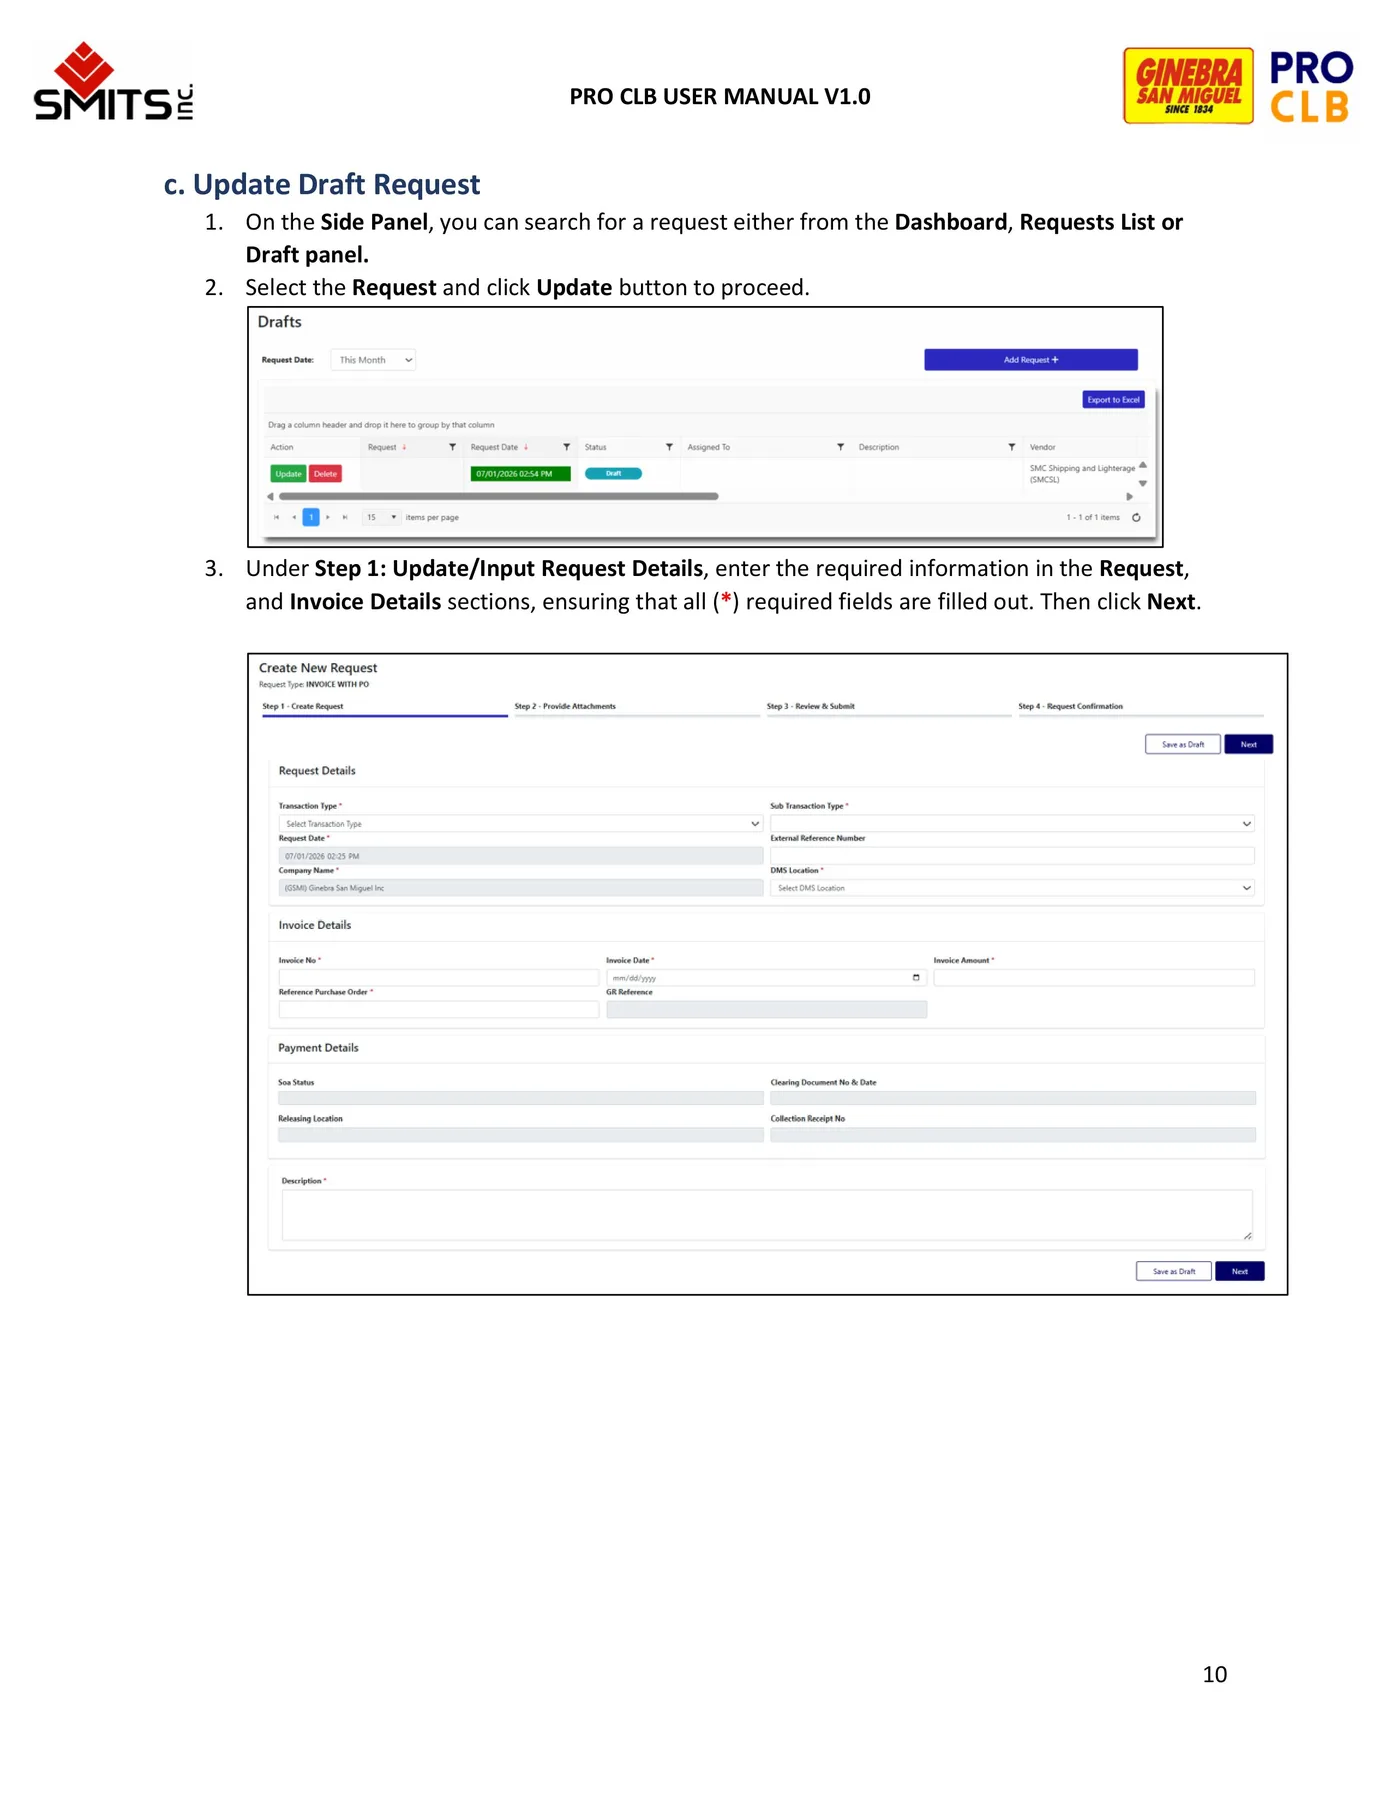
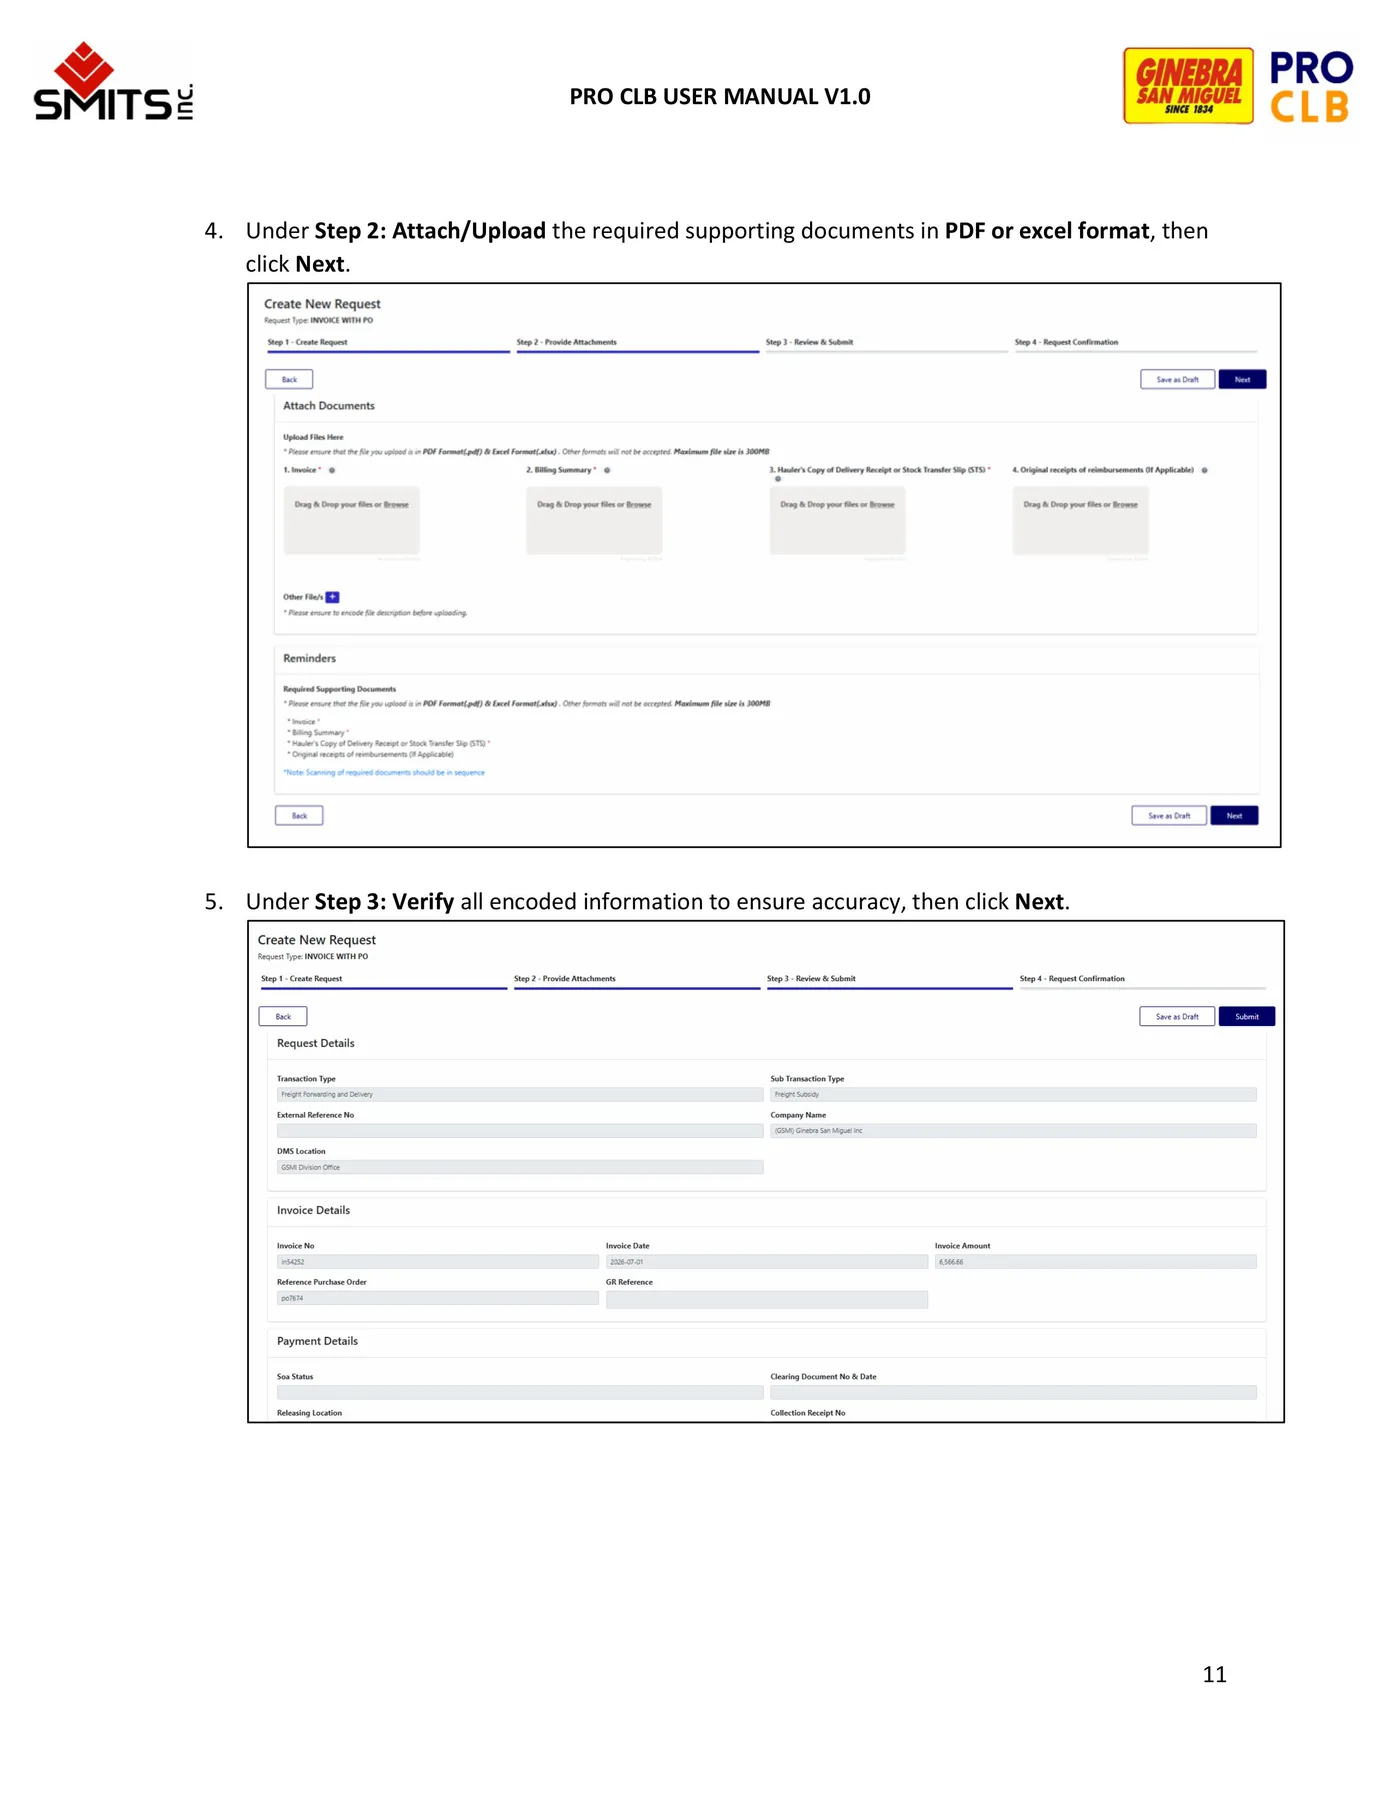
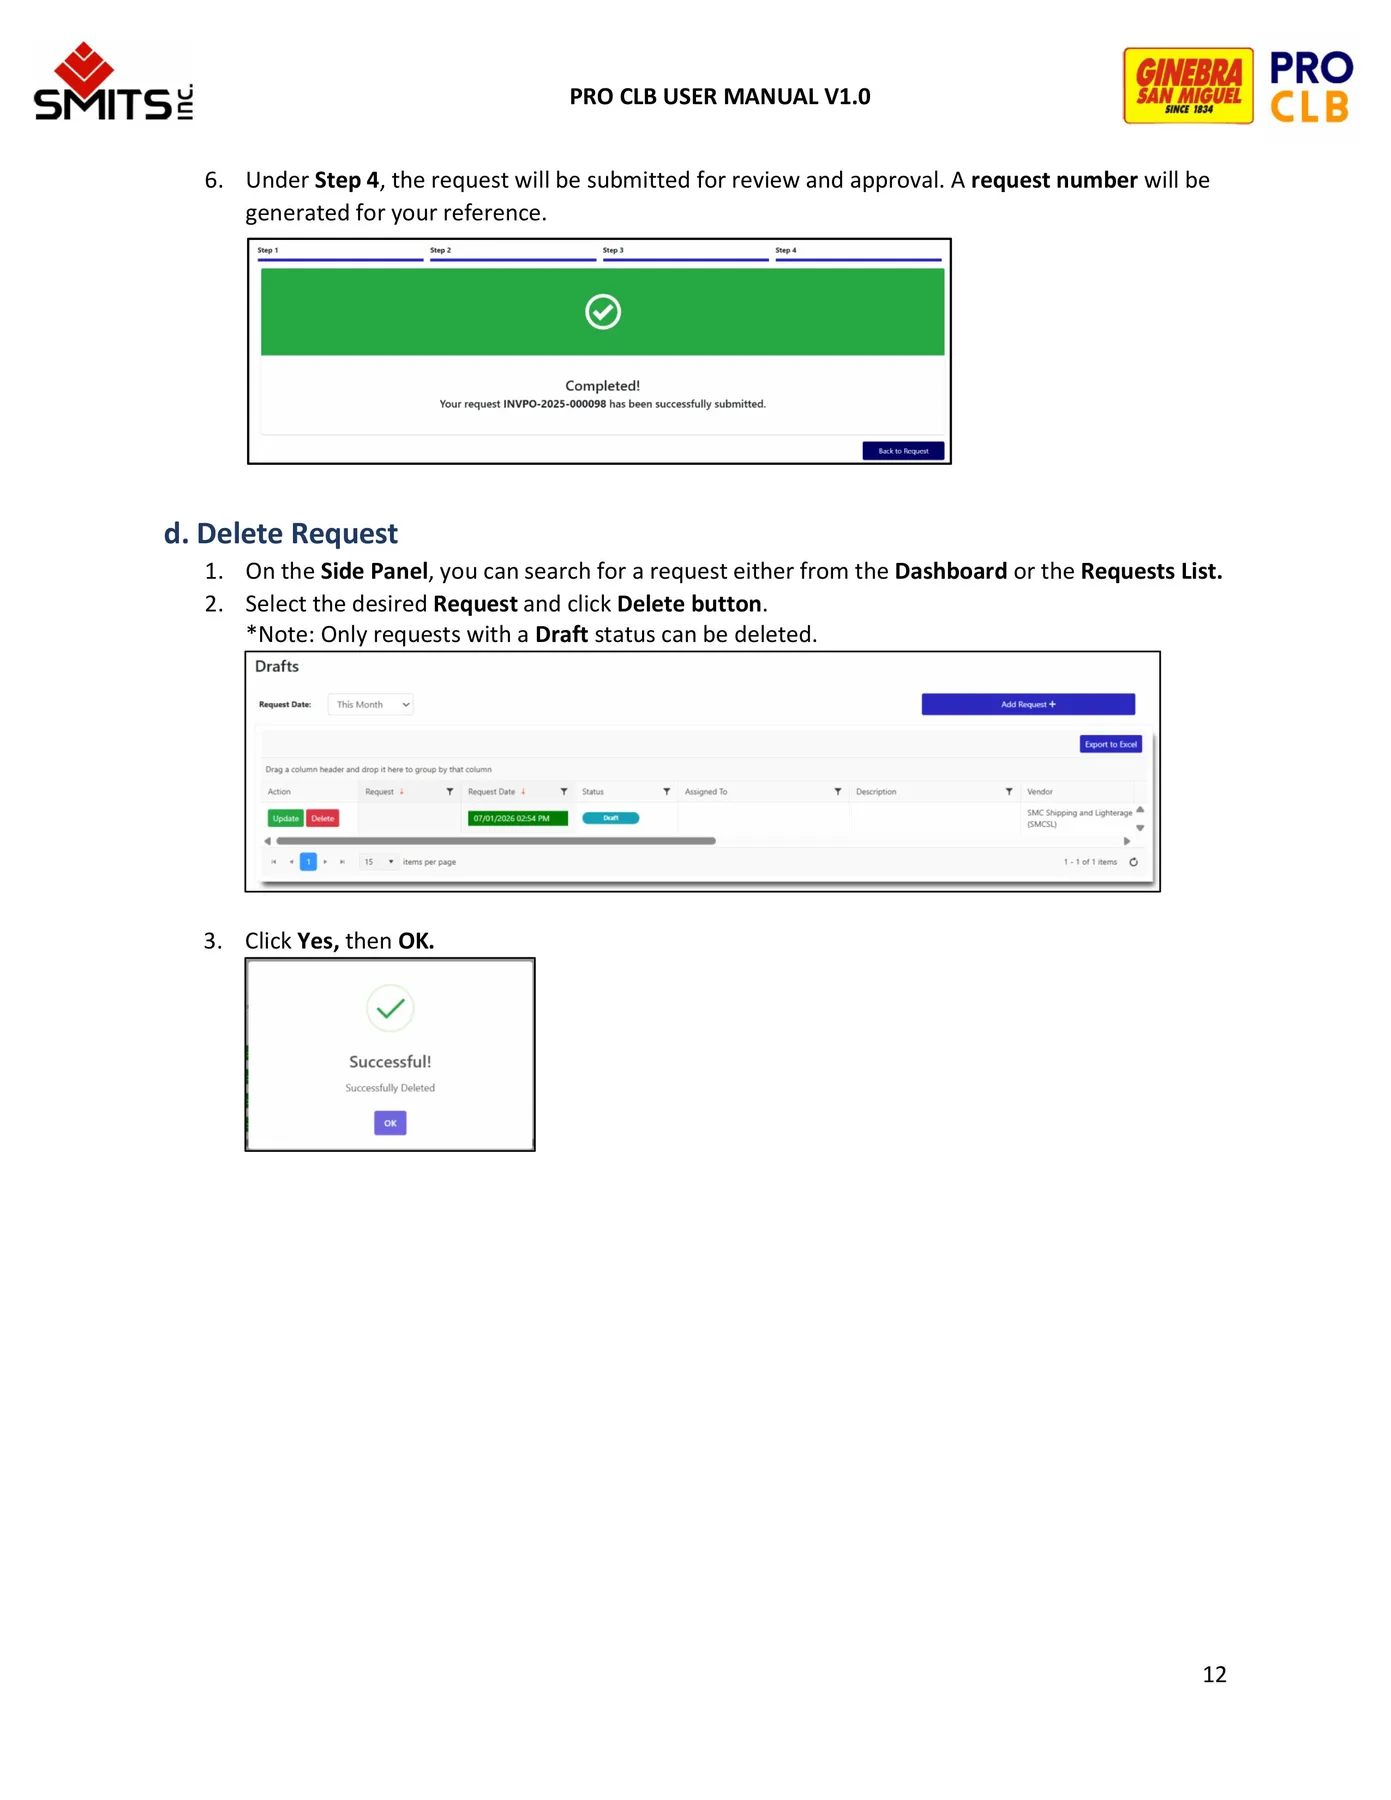
Request Management Source page 5 Request Management Source page 6 Request Management Source page 7 Request Management Source page 8 Request Management Source page 9 Request Management Source page 10 Request Management Source page 11 Request Management Source page 12 Request Management Source page 13
04
Status Reference Understand routing, resolution, workflow, payment and SYNQ states.
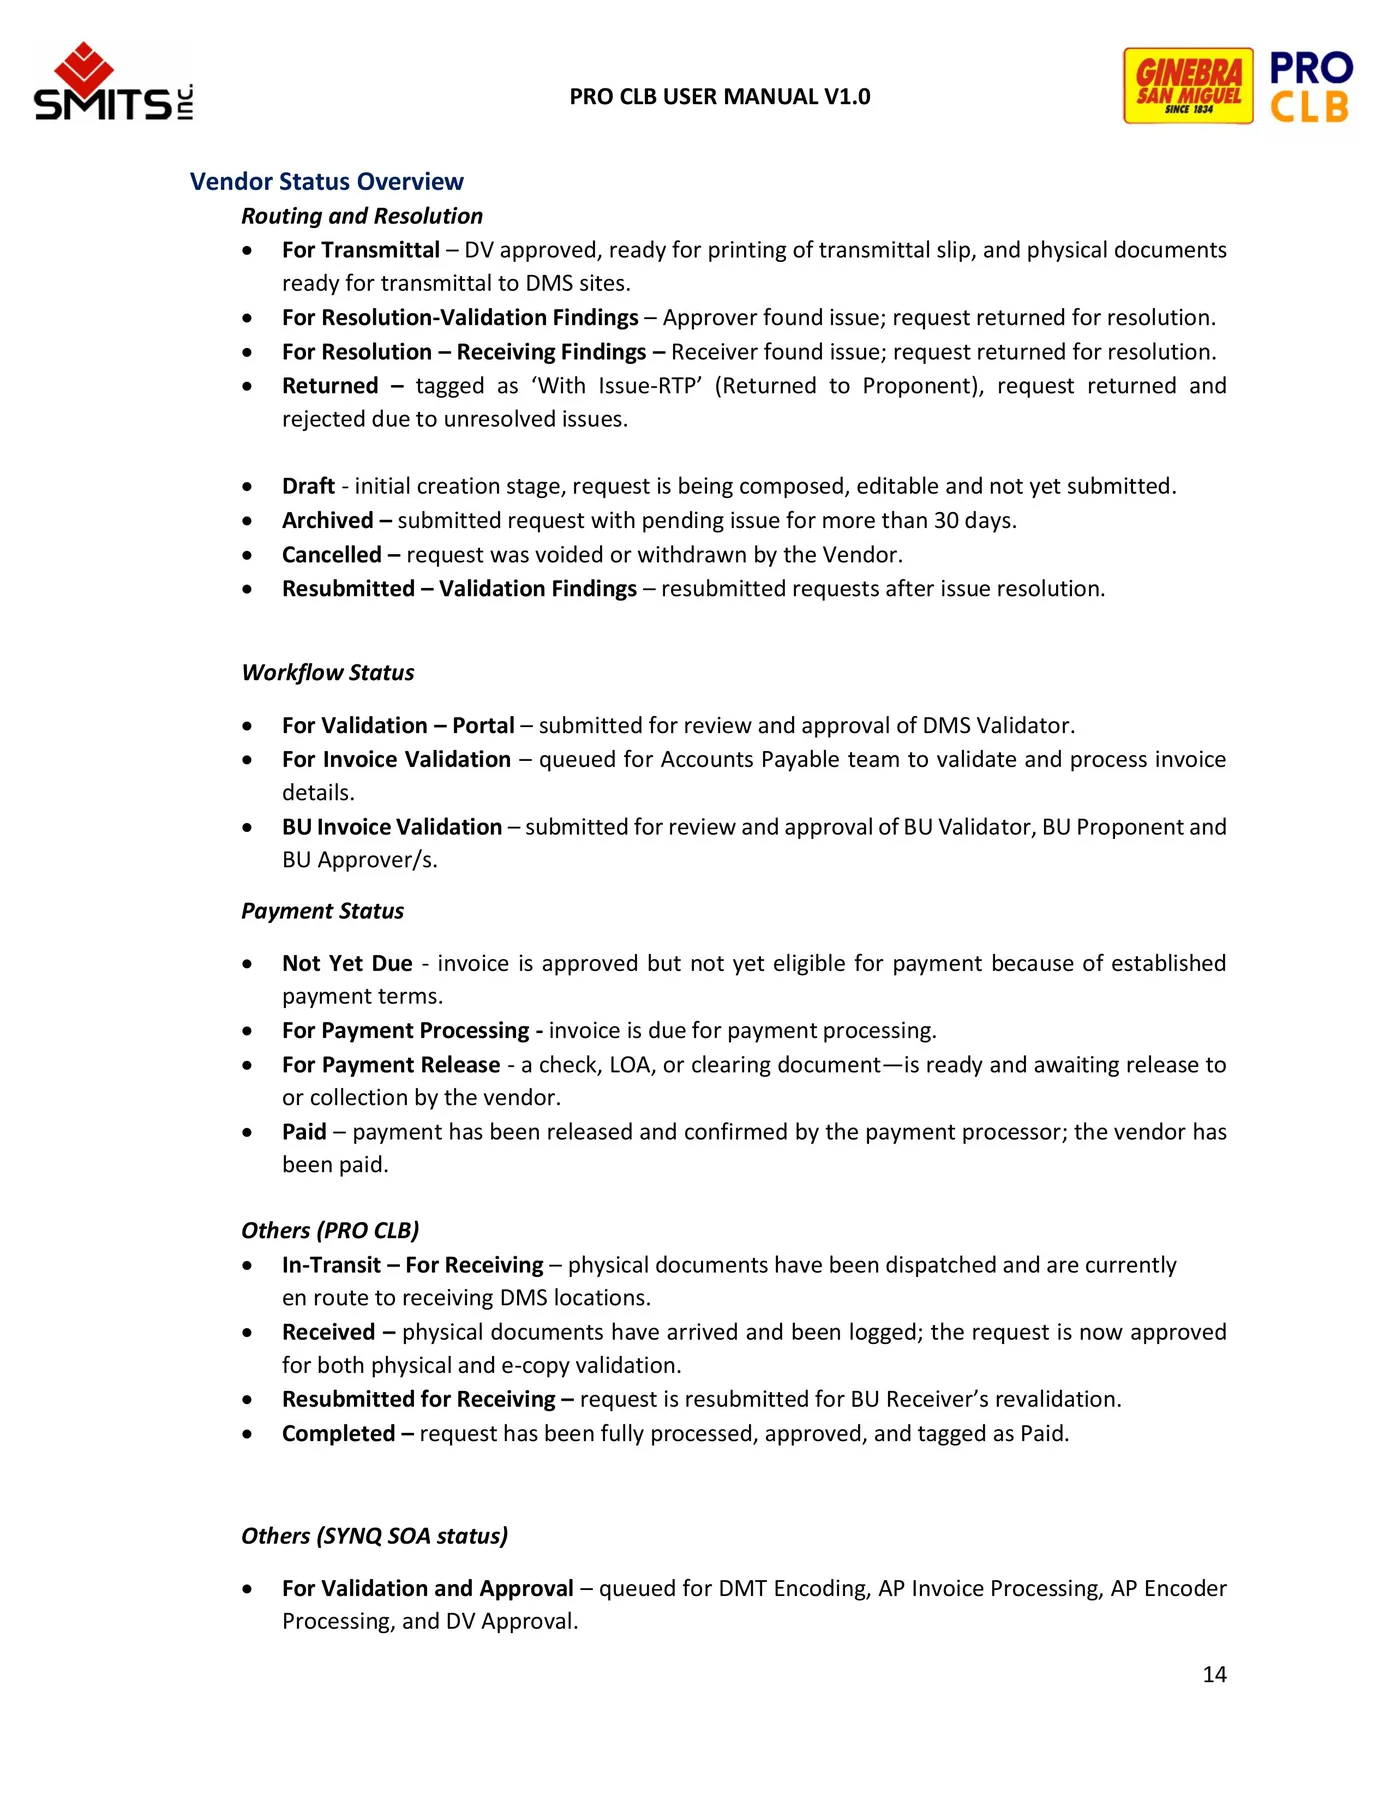
Vendor status counters
Routing and resolution
Workflow statuses
Payment statuses
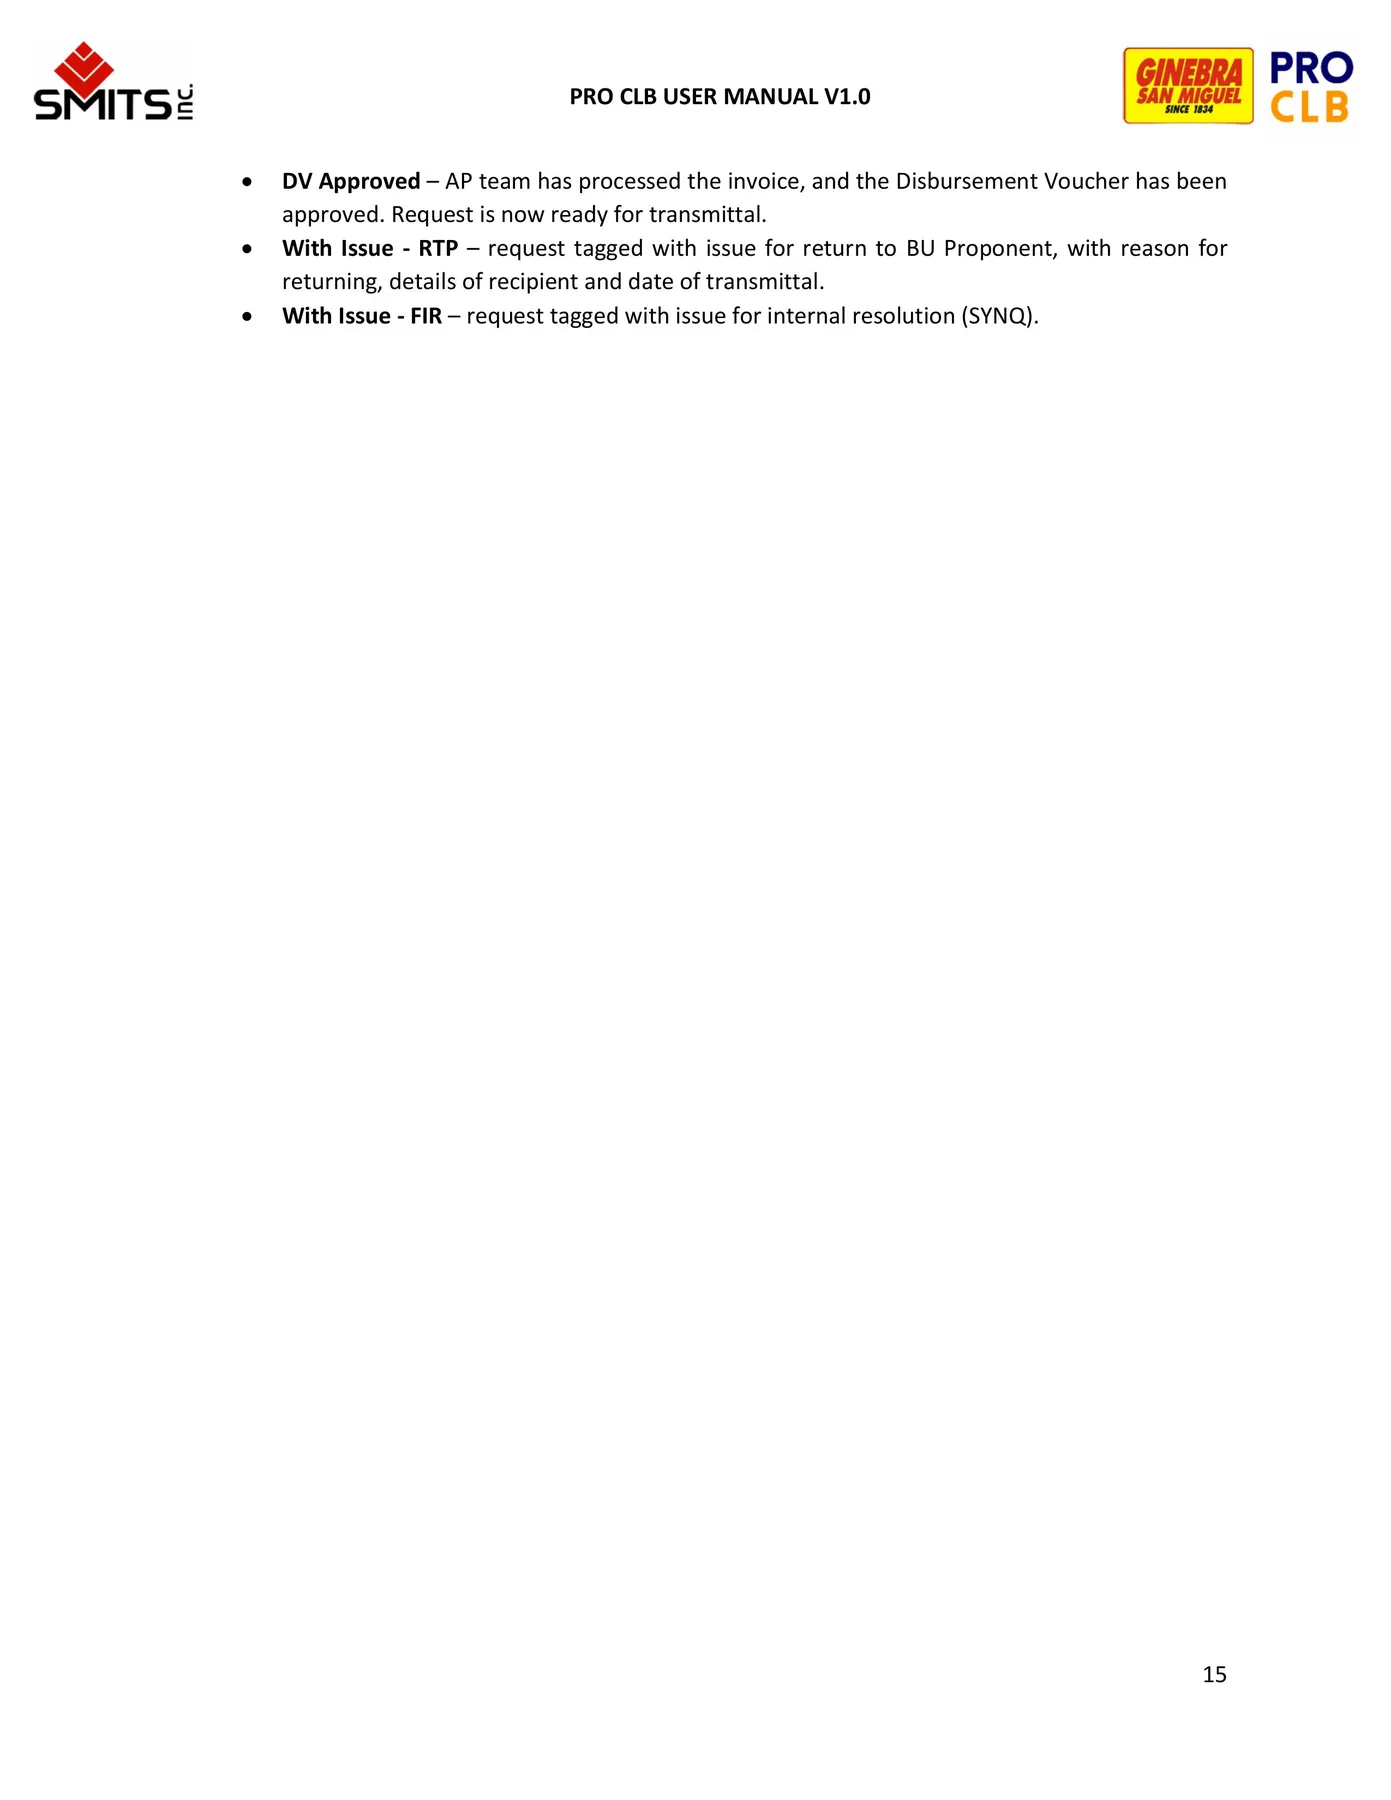
SYNQ SOA statuses
Status Reference Source page 14 Status Reference Source page 15
05
BU Validator Review requests, correct permitted fields and add an ad hoc BU Proponent.
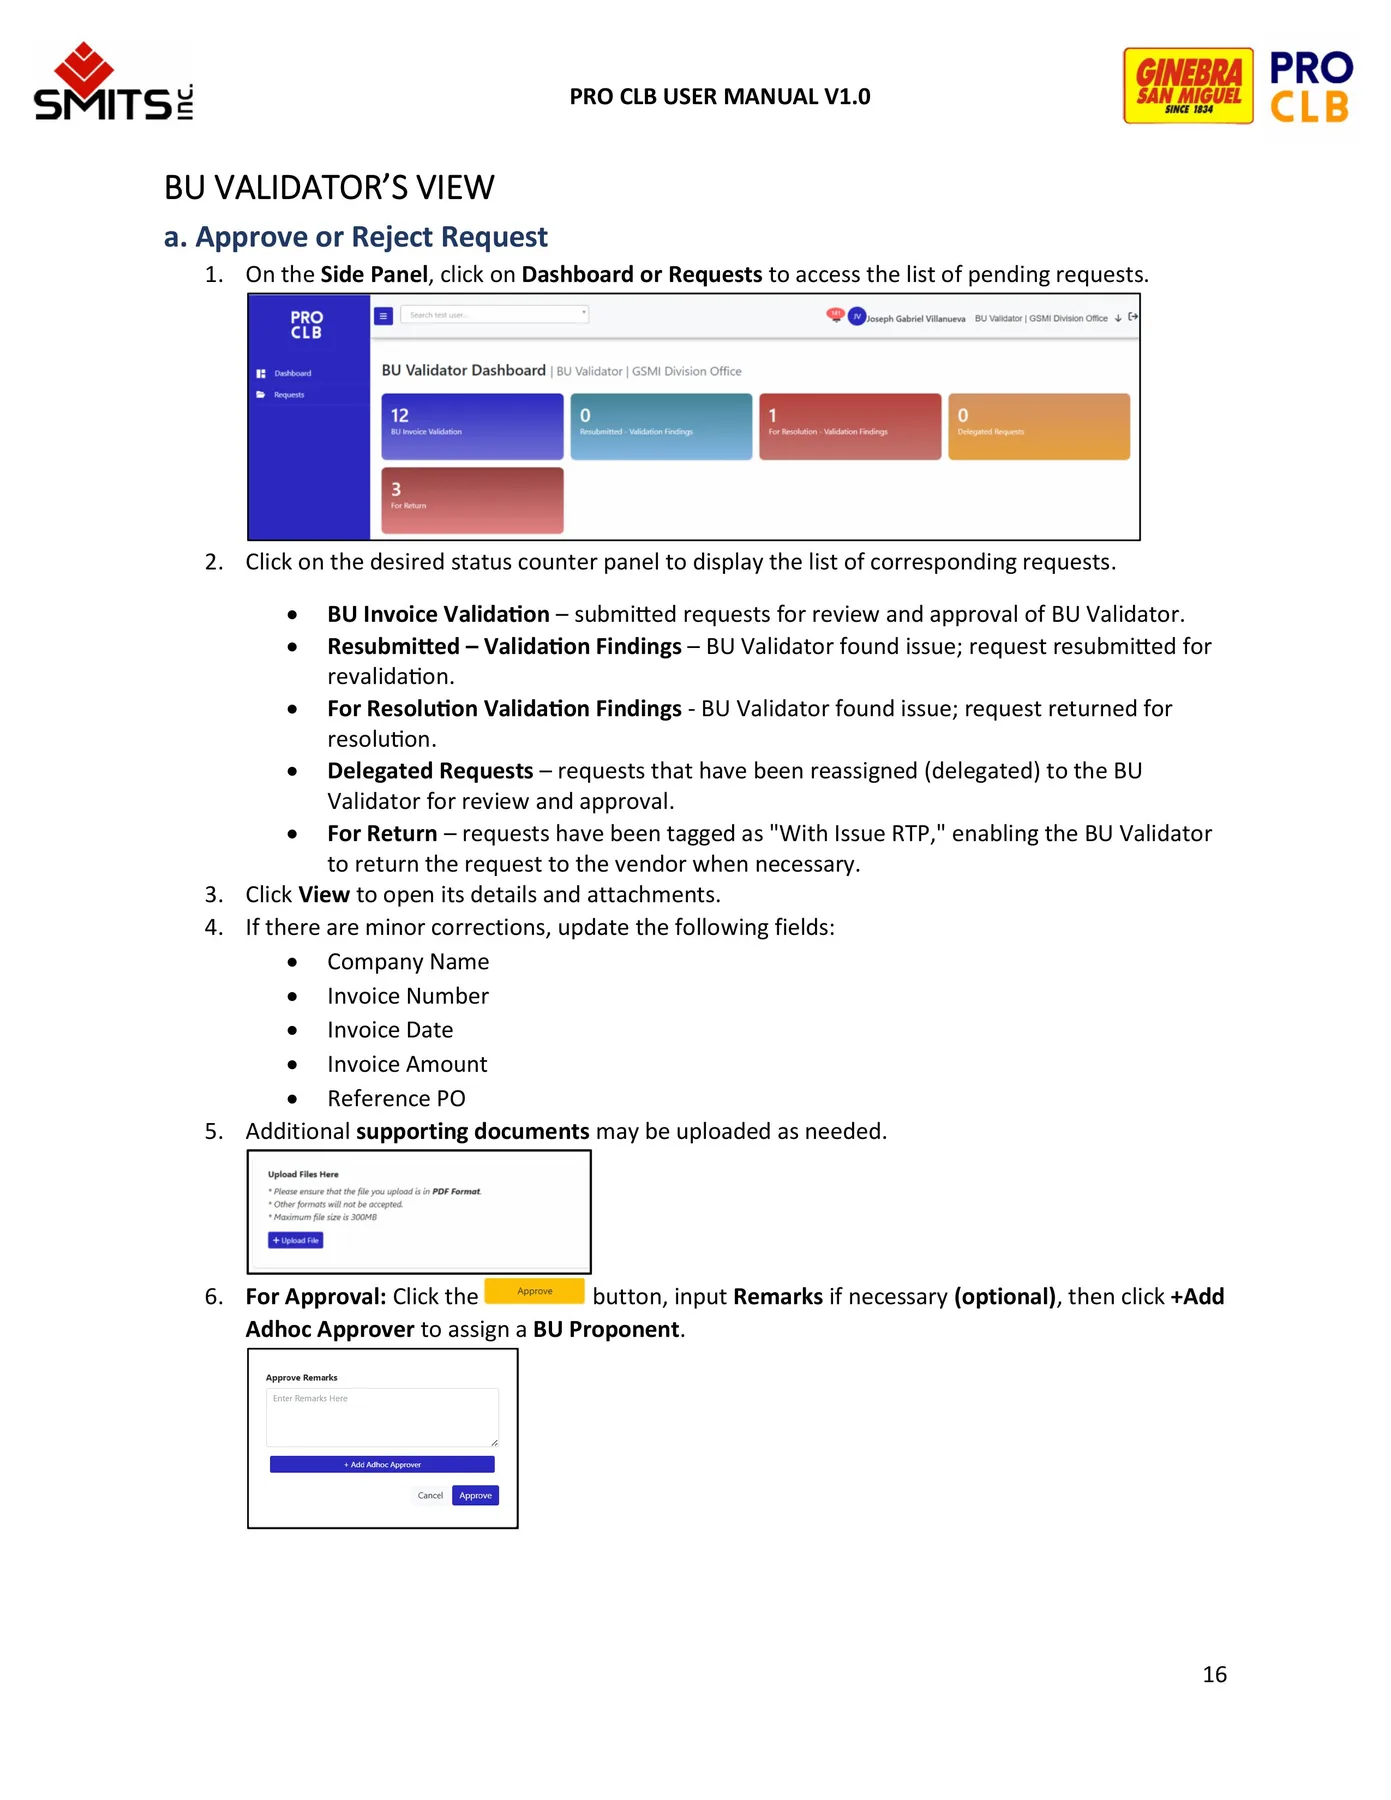
Review pending requests
Update permitted invoice fields
Approve with ad hoc approver
Reject with classification and remarks
BU Validator Source page 16 BU Validator Source page 17
06
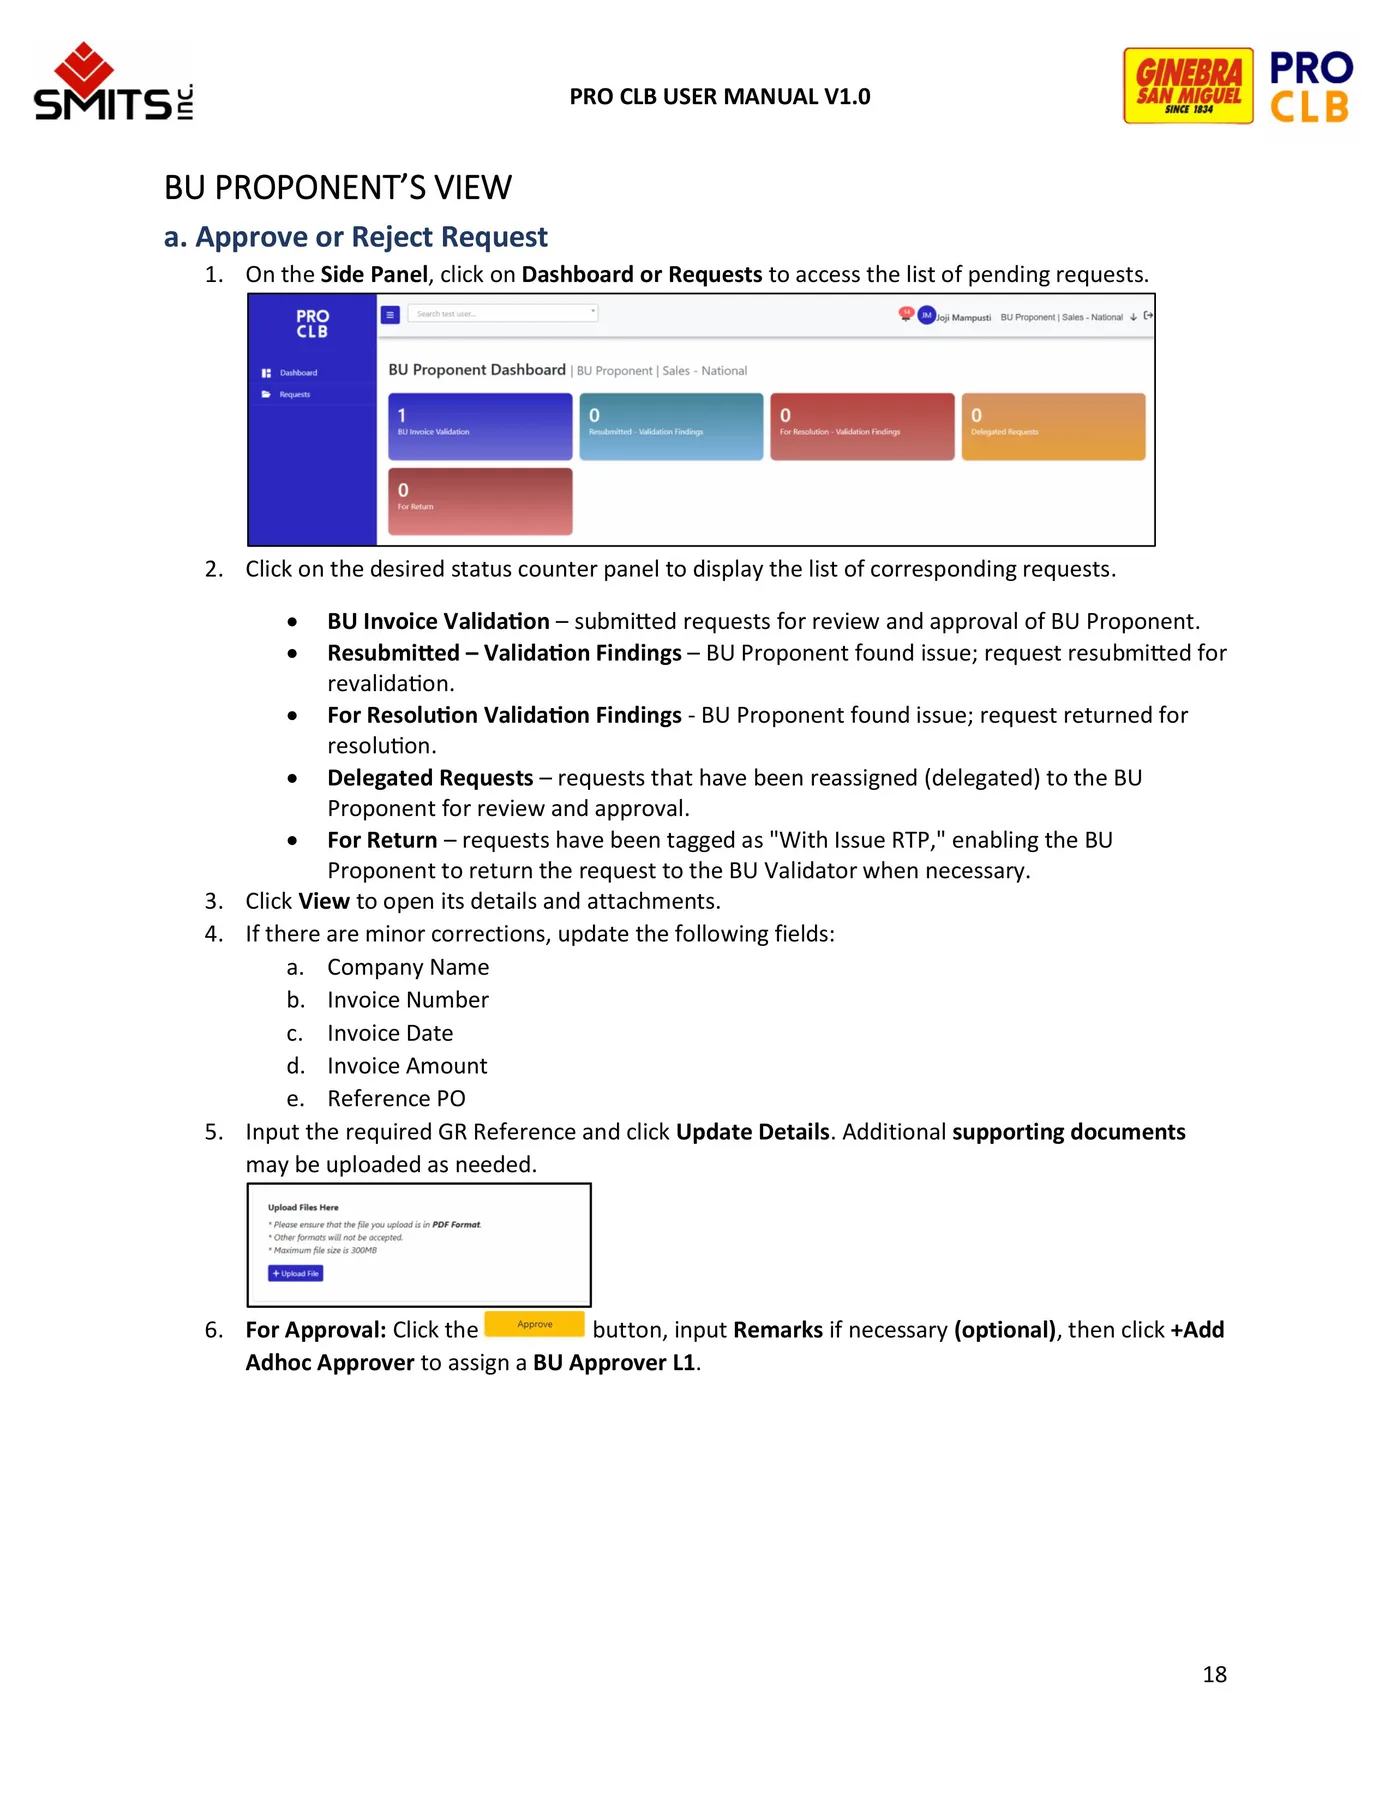
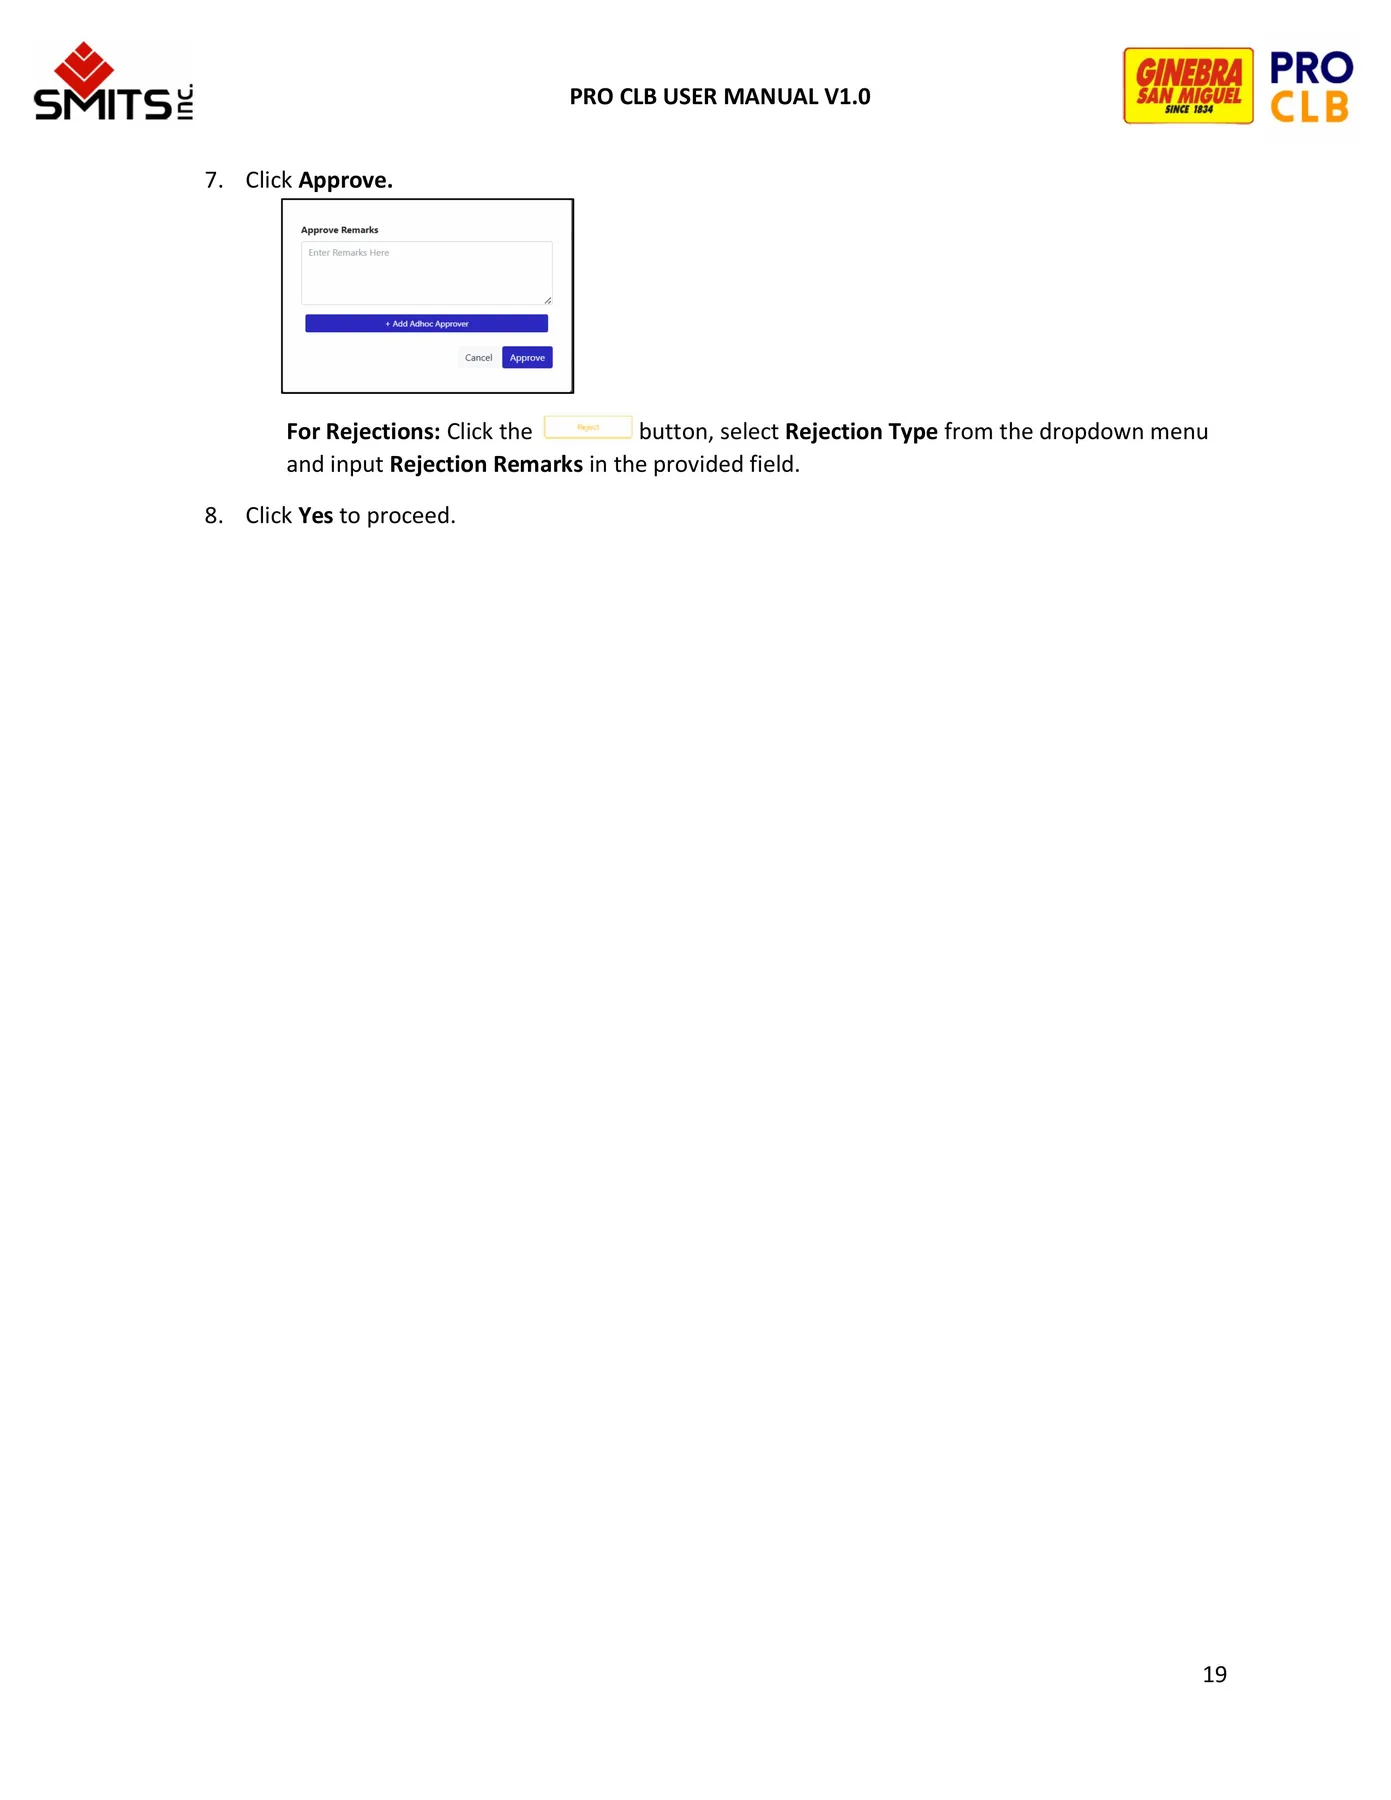
BU Proponent Validate business details, provide GR reference and route to BU approval.
Review request and documents
Update GR reference
Add BU Approver
Approve or reject
BU Proponent Source page 18 BU Proponent Source page 19
07
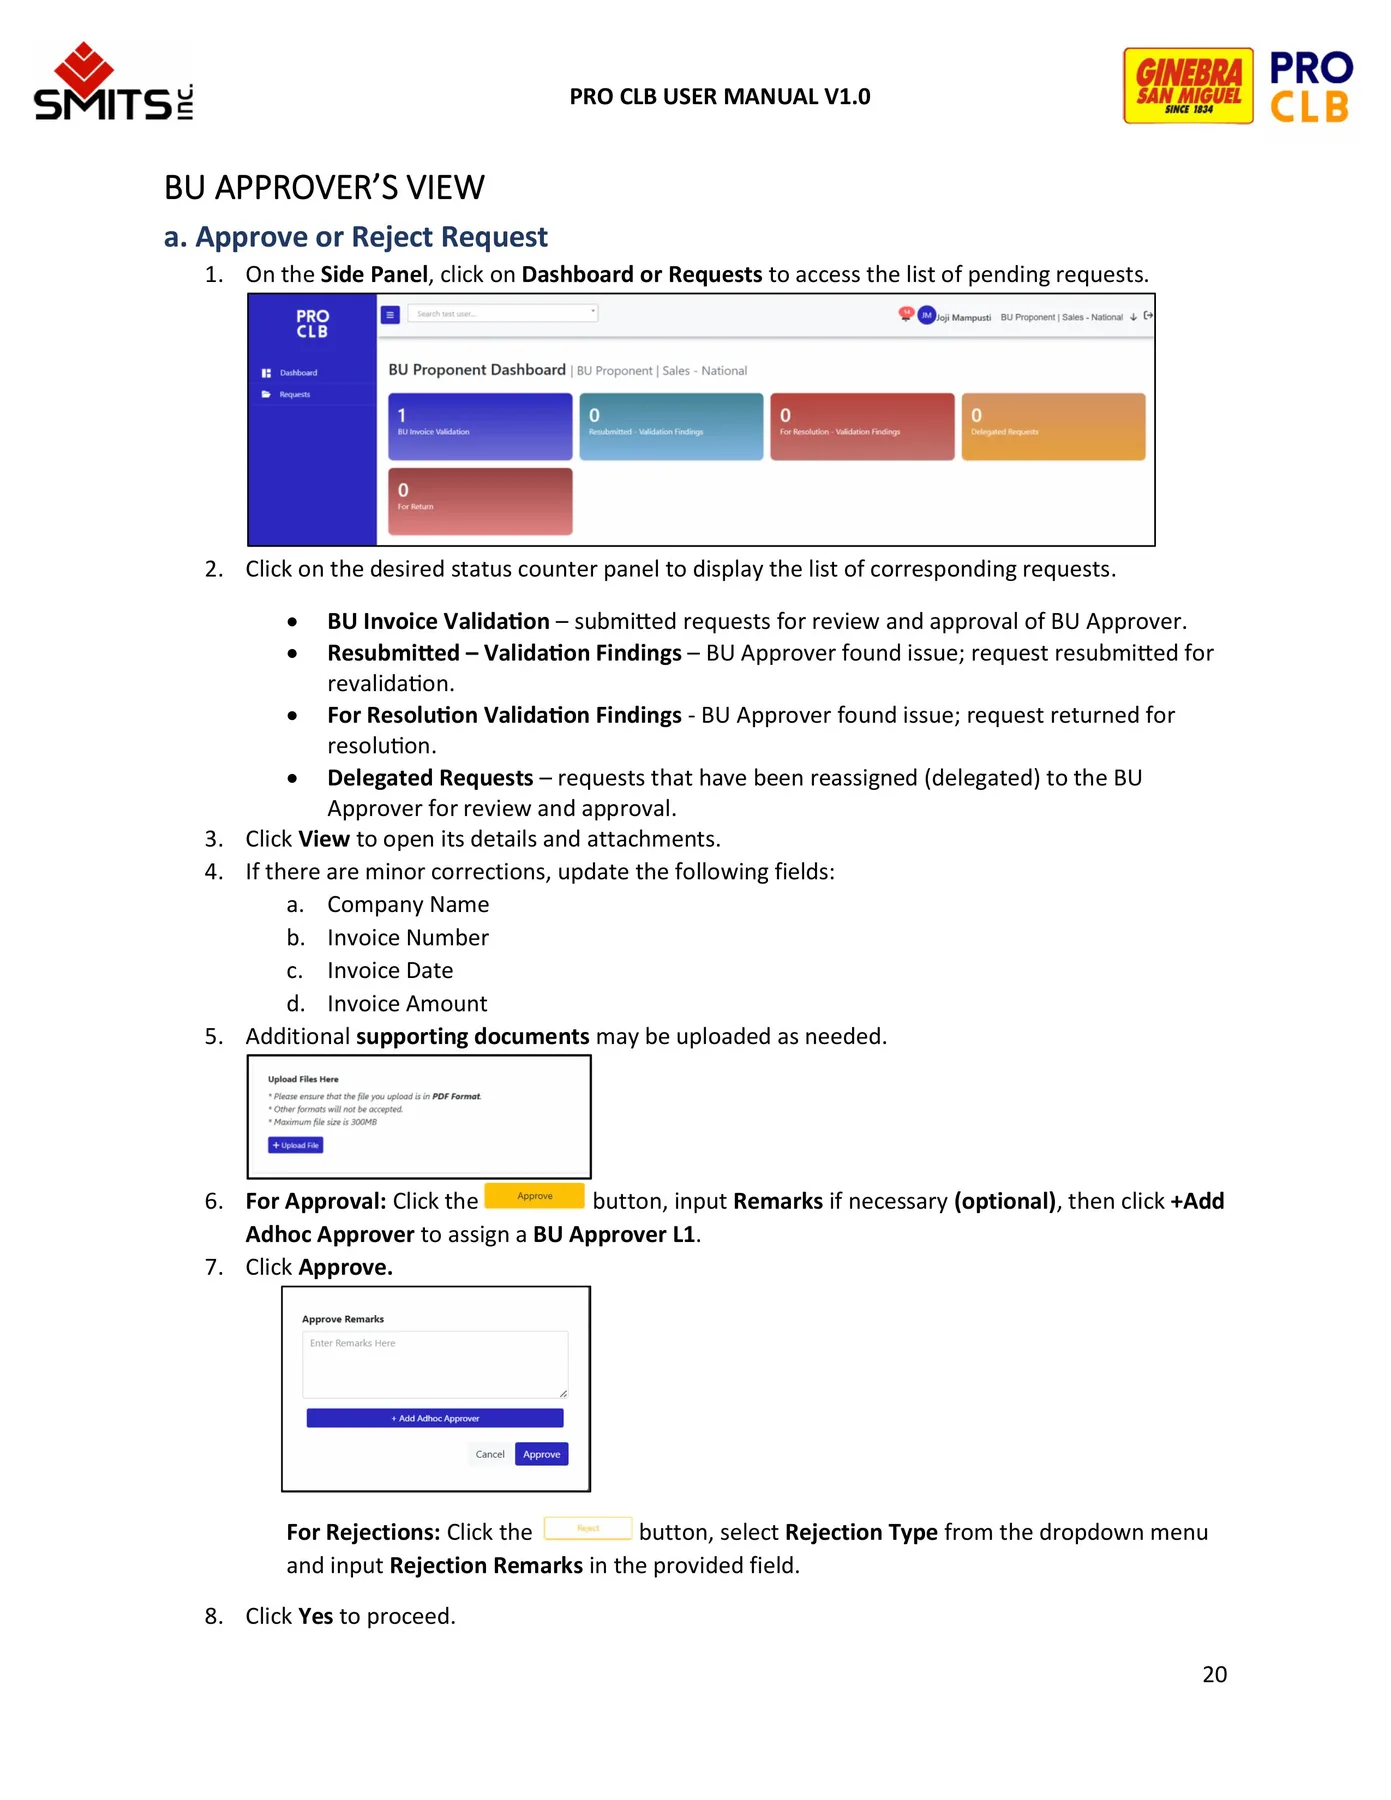
BU Approver Complete BU-side approval or return the request with findings.
Review assigned requests
Add another BU Approver when required
Approve or reject
BU Approver Source page 20
08
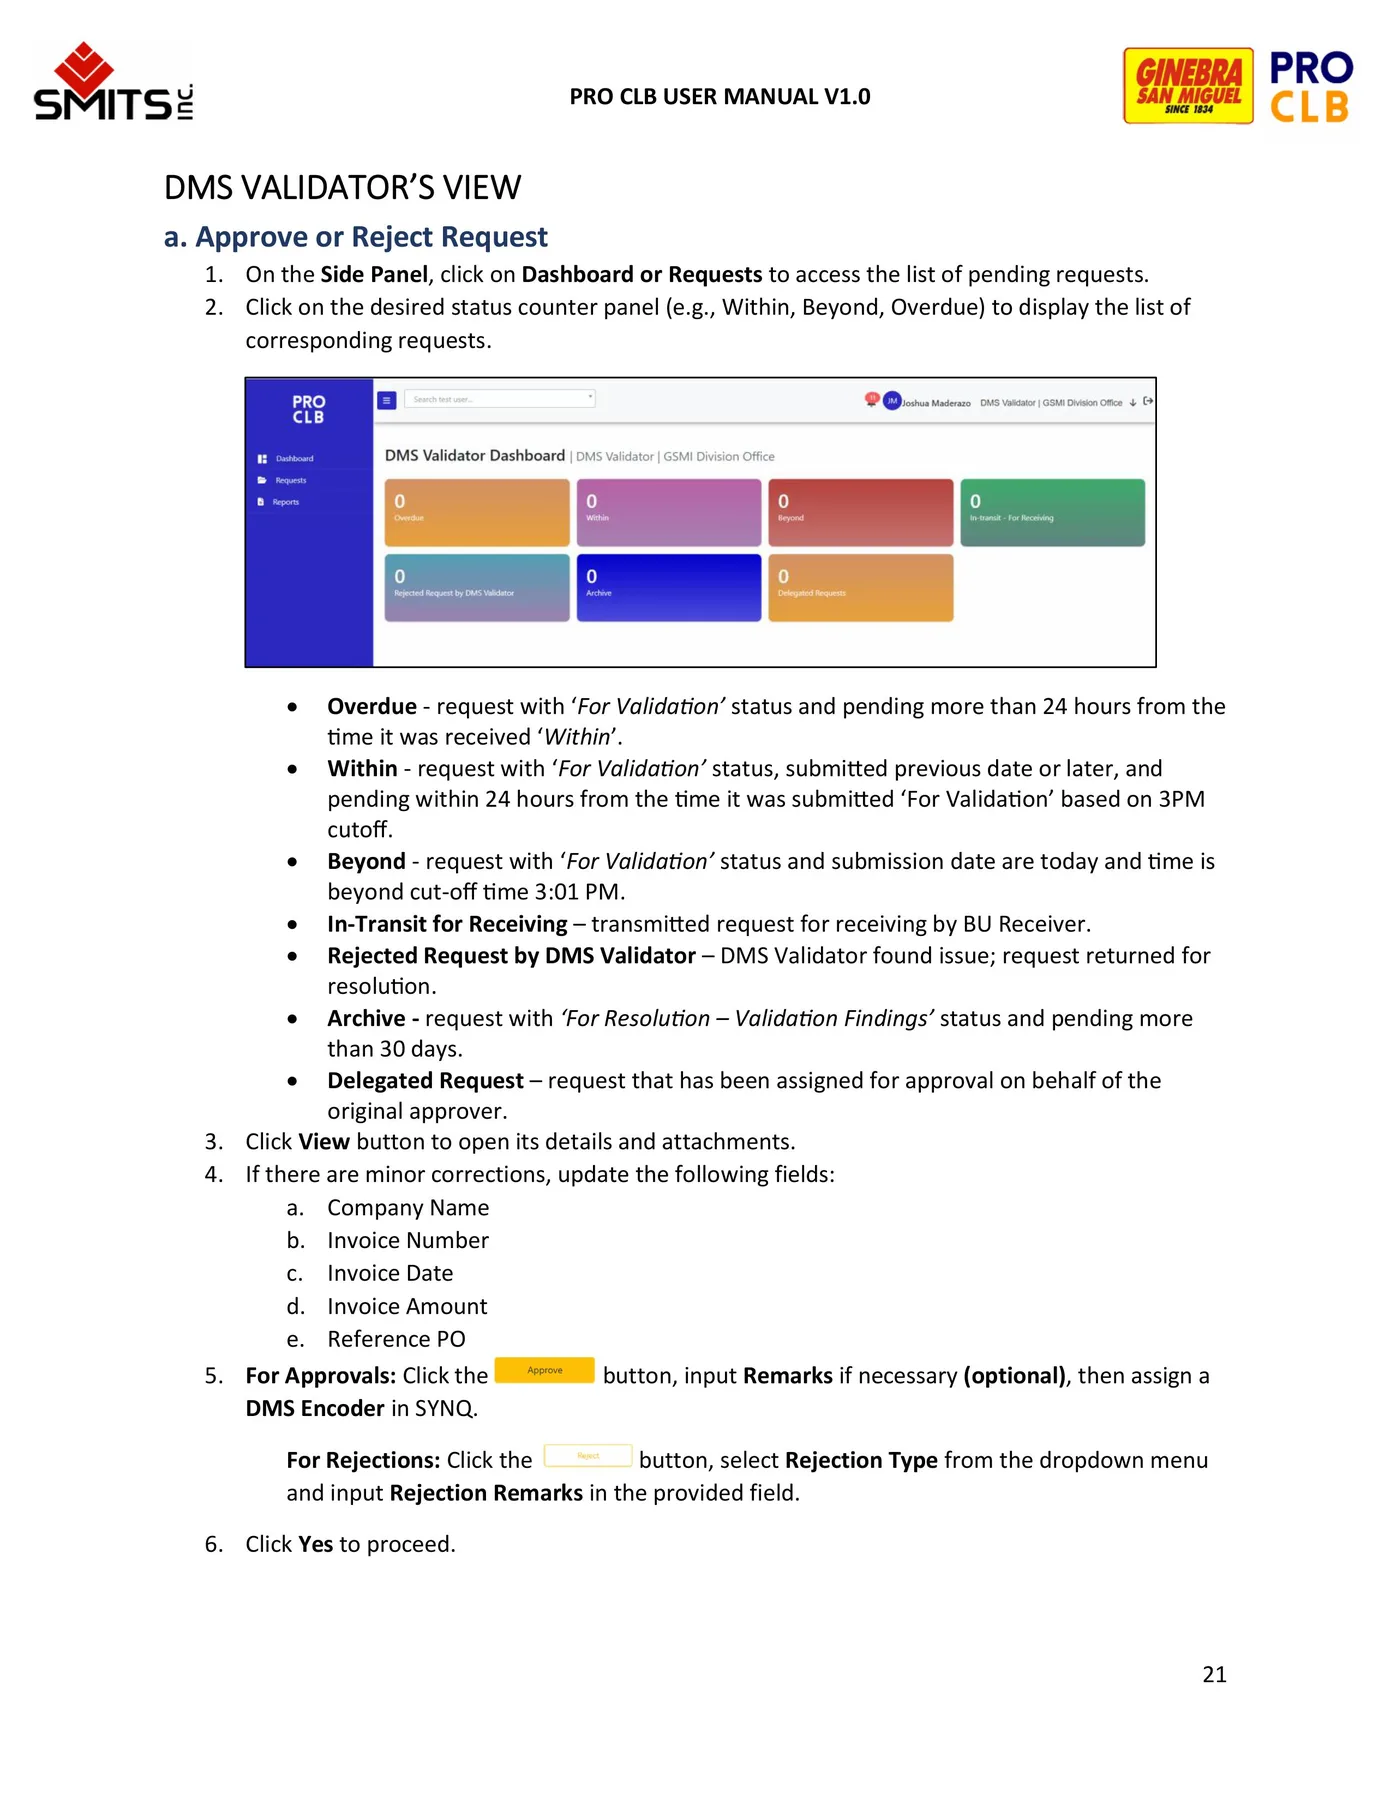
DMS Validator Validate request completeness and assign the appropriate SYNQ encoder.
Within, Beyond and Overdue queues
Validate invoice details
Assign DMS Encoder
Approve or return findings
DMS Validator Source page 21
09
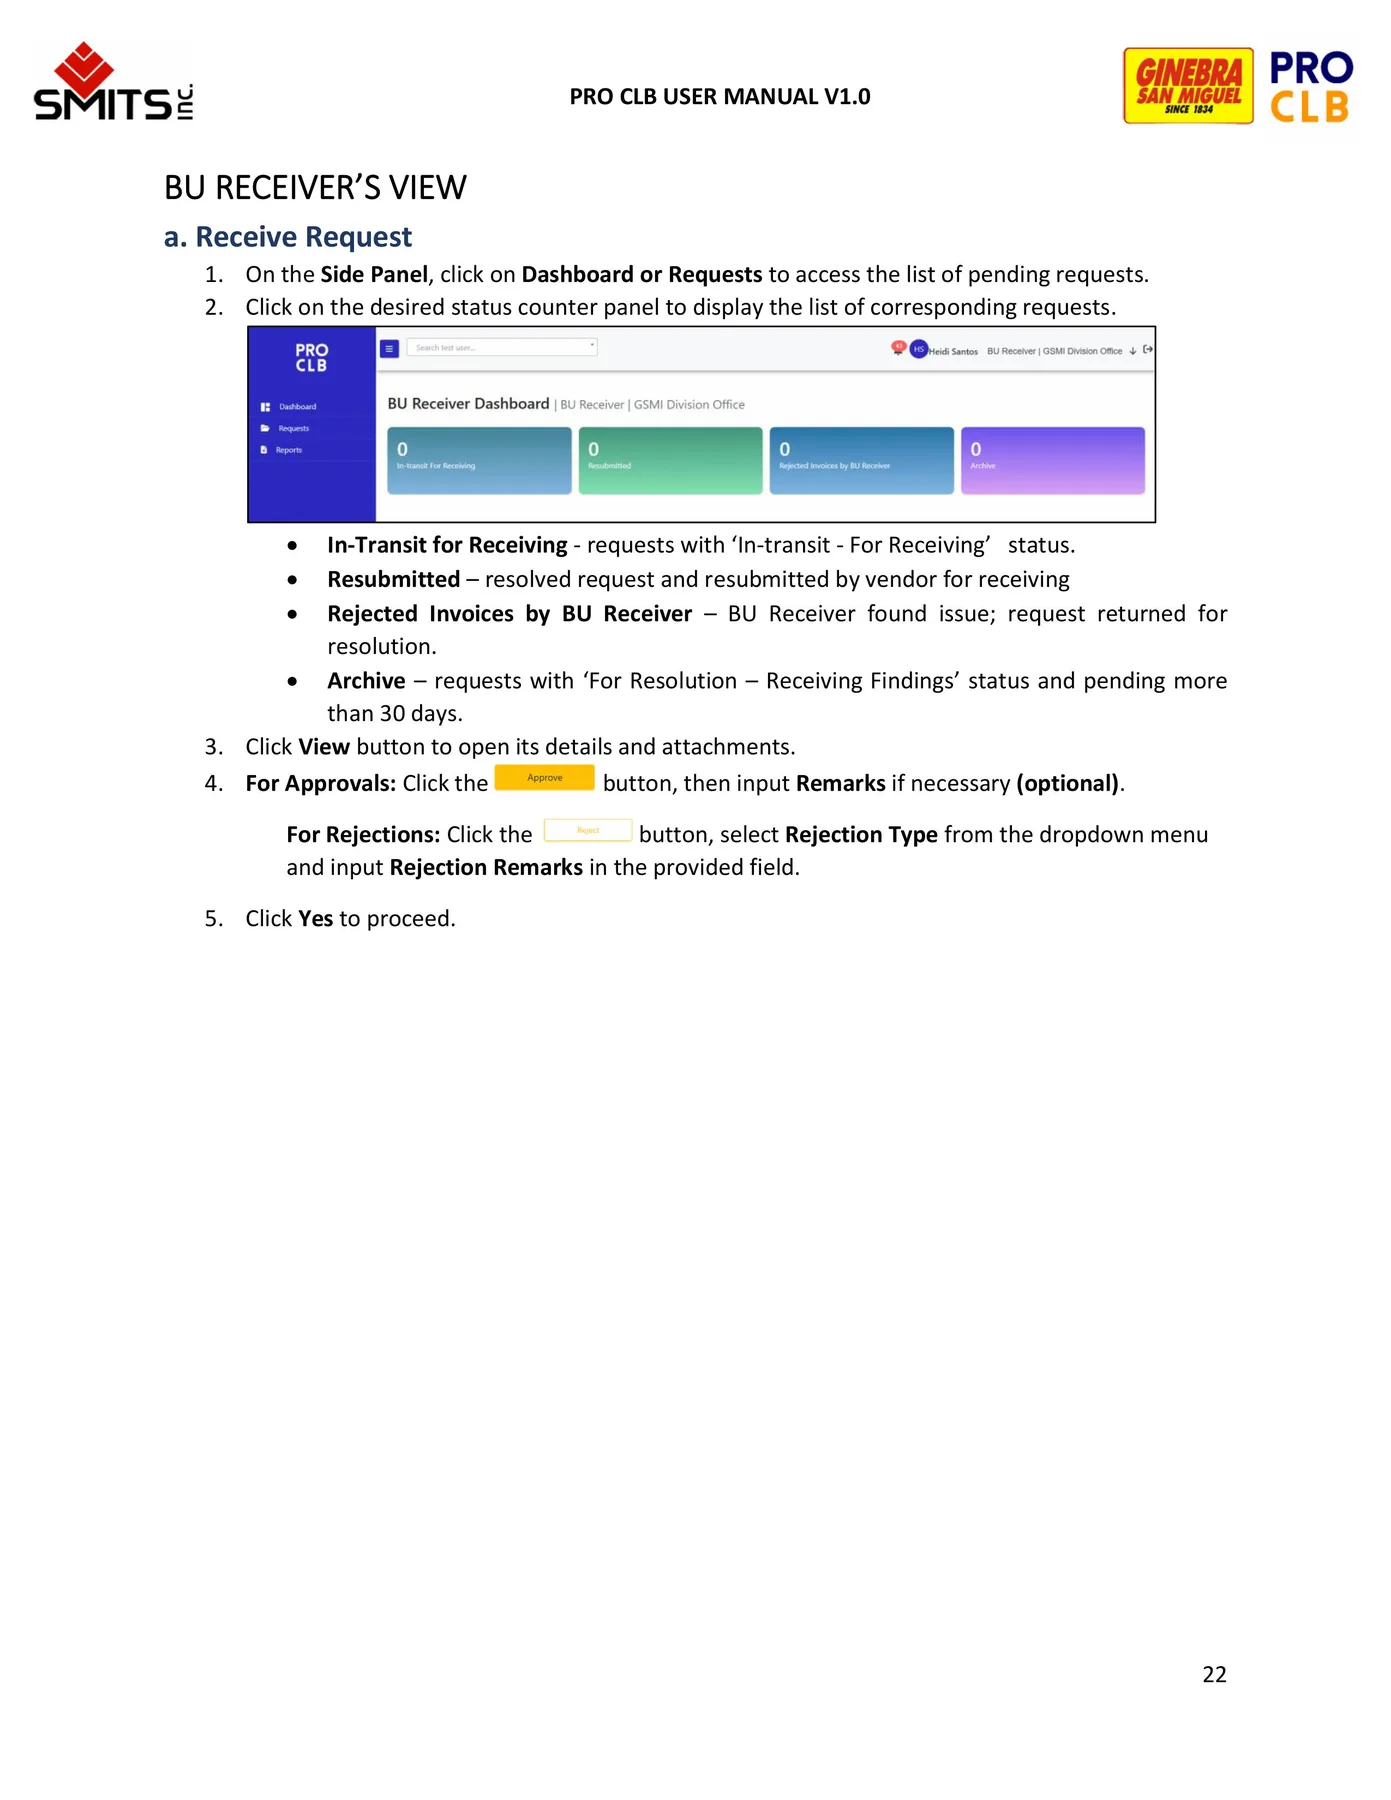
BU Receiver Confirm physical document receipt or return incomplete submissions.
Open In-Transit requests
Review physical and electronic copies
Receive or reject
BU Receiver Source page 22
10
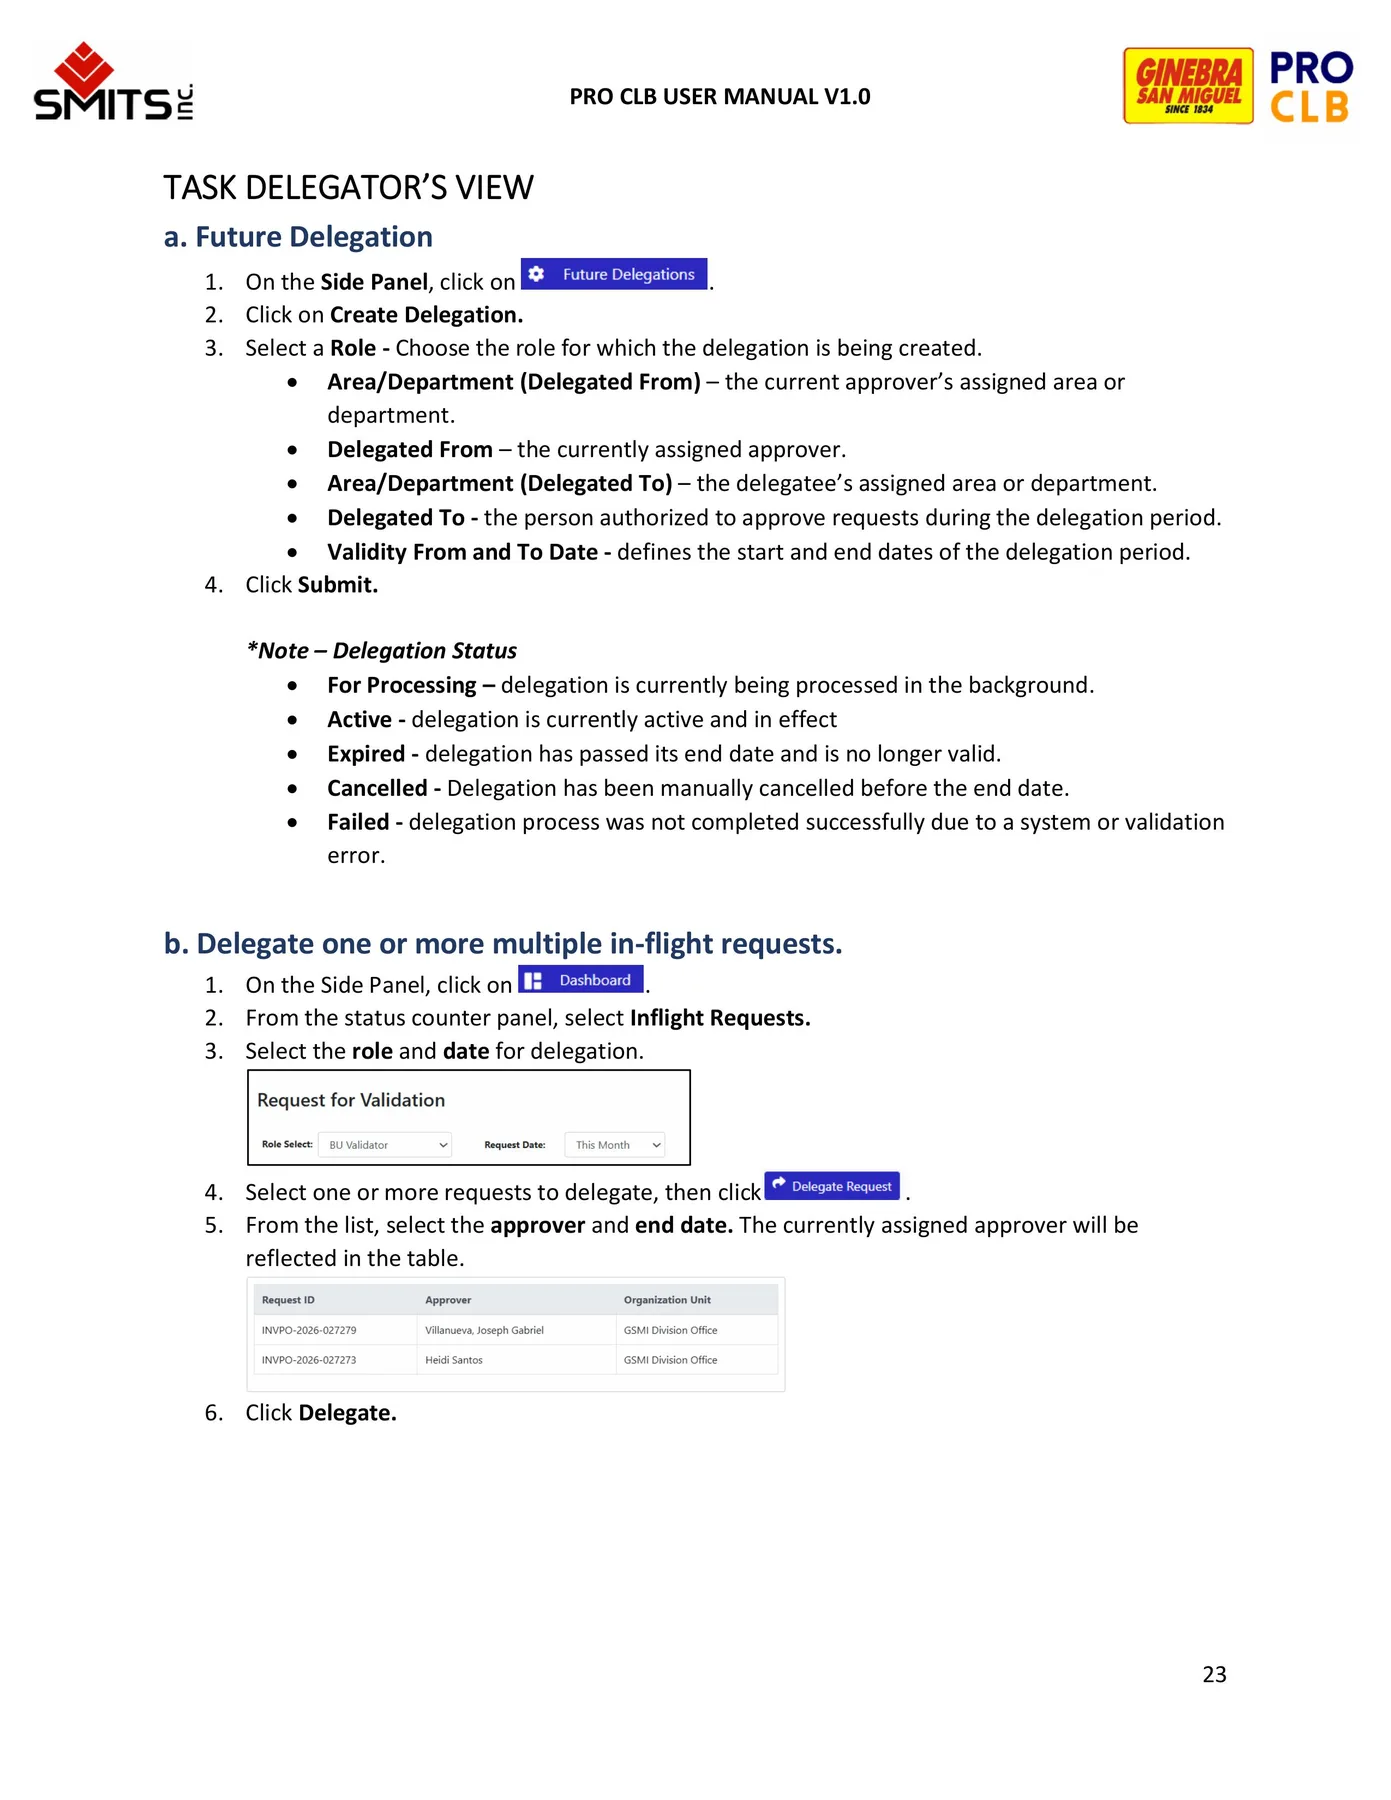
Task Delegation Configure future delegation and delegate in-flight requests.
Create future delegation
Select role and organization
Set validity period
Delegate in-flight requests
Task Delegation Source page 23
11
Reports Generate, filter and export operational reports.
Select report type
Set date and organization filters
Generate report
Export results
Reports Source page 24
No matching chapter Try a role, action or status such as “validator”, “draft”, “receiving” or “delegation”.